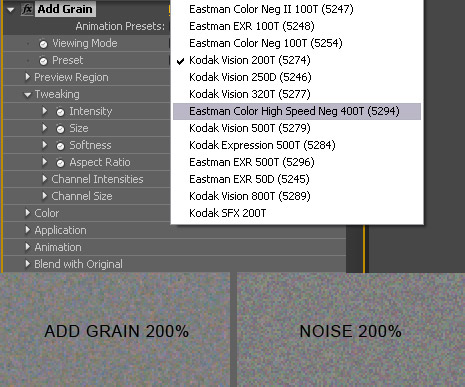
Film grain is a necessary part of visual effects and used commonly in motion graphics to add a more natural look. After Effects has great tools for adding film grain that are based on real 35mm film stock. The only problem is that it renders very slow! There is an alternative plug-in called noise that creates nice random but somewhat sparatic grain that can look a bit 'digital'. The add grain is a much more fluid formula. Only problem is that it renders very SLOW!
What I like to do is create a grain video loop that I can place on top of my video with the overlay transfer mode. Similar to our free fast film grain preset found here, except the quality of the grain is much better.
Quick Tip:
When matching grain of CG elements with Live Action footage it is sometimes hard to see grain detail in dark areas for accurate matching. What you can apply a temporary adjustment layer to the top of your comp and add the equalize filter. This makes it easier to see the grain frequency more clearly. Yay!
Steps:
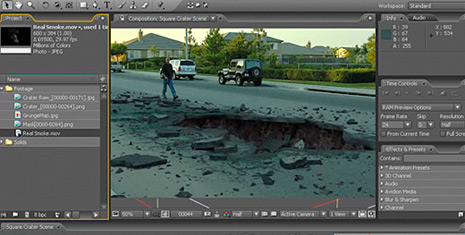
- Create a new comp that is 150 frames
- Apply Add Grain and adjust the settings to your taste
- Render the video out to quickTime PhotoJPG
- Import to AE and set the loop to 10 in the interpret settings