Earlier this year I had the chance to work on 10 Cloverfield lane, on this horrifying matte painting and composite. Many image-searches for road kill have scarred my mind! As always it was a pleasure to work with Dan Trachtenberg.
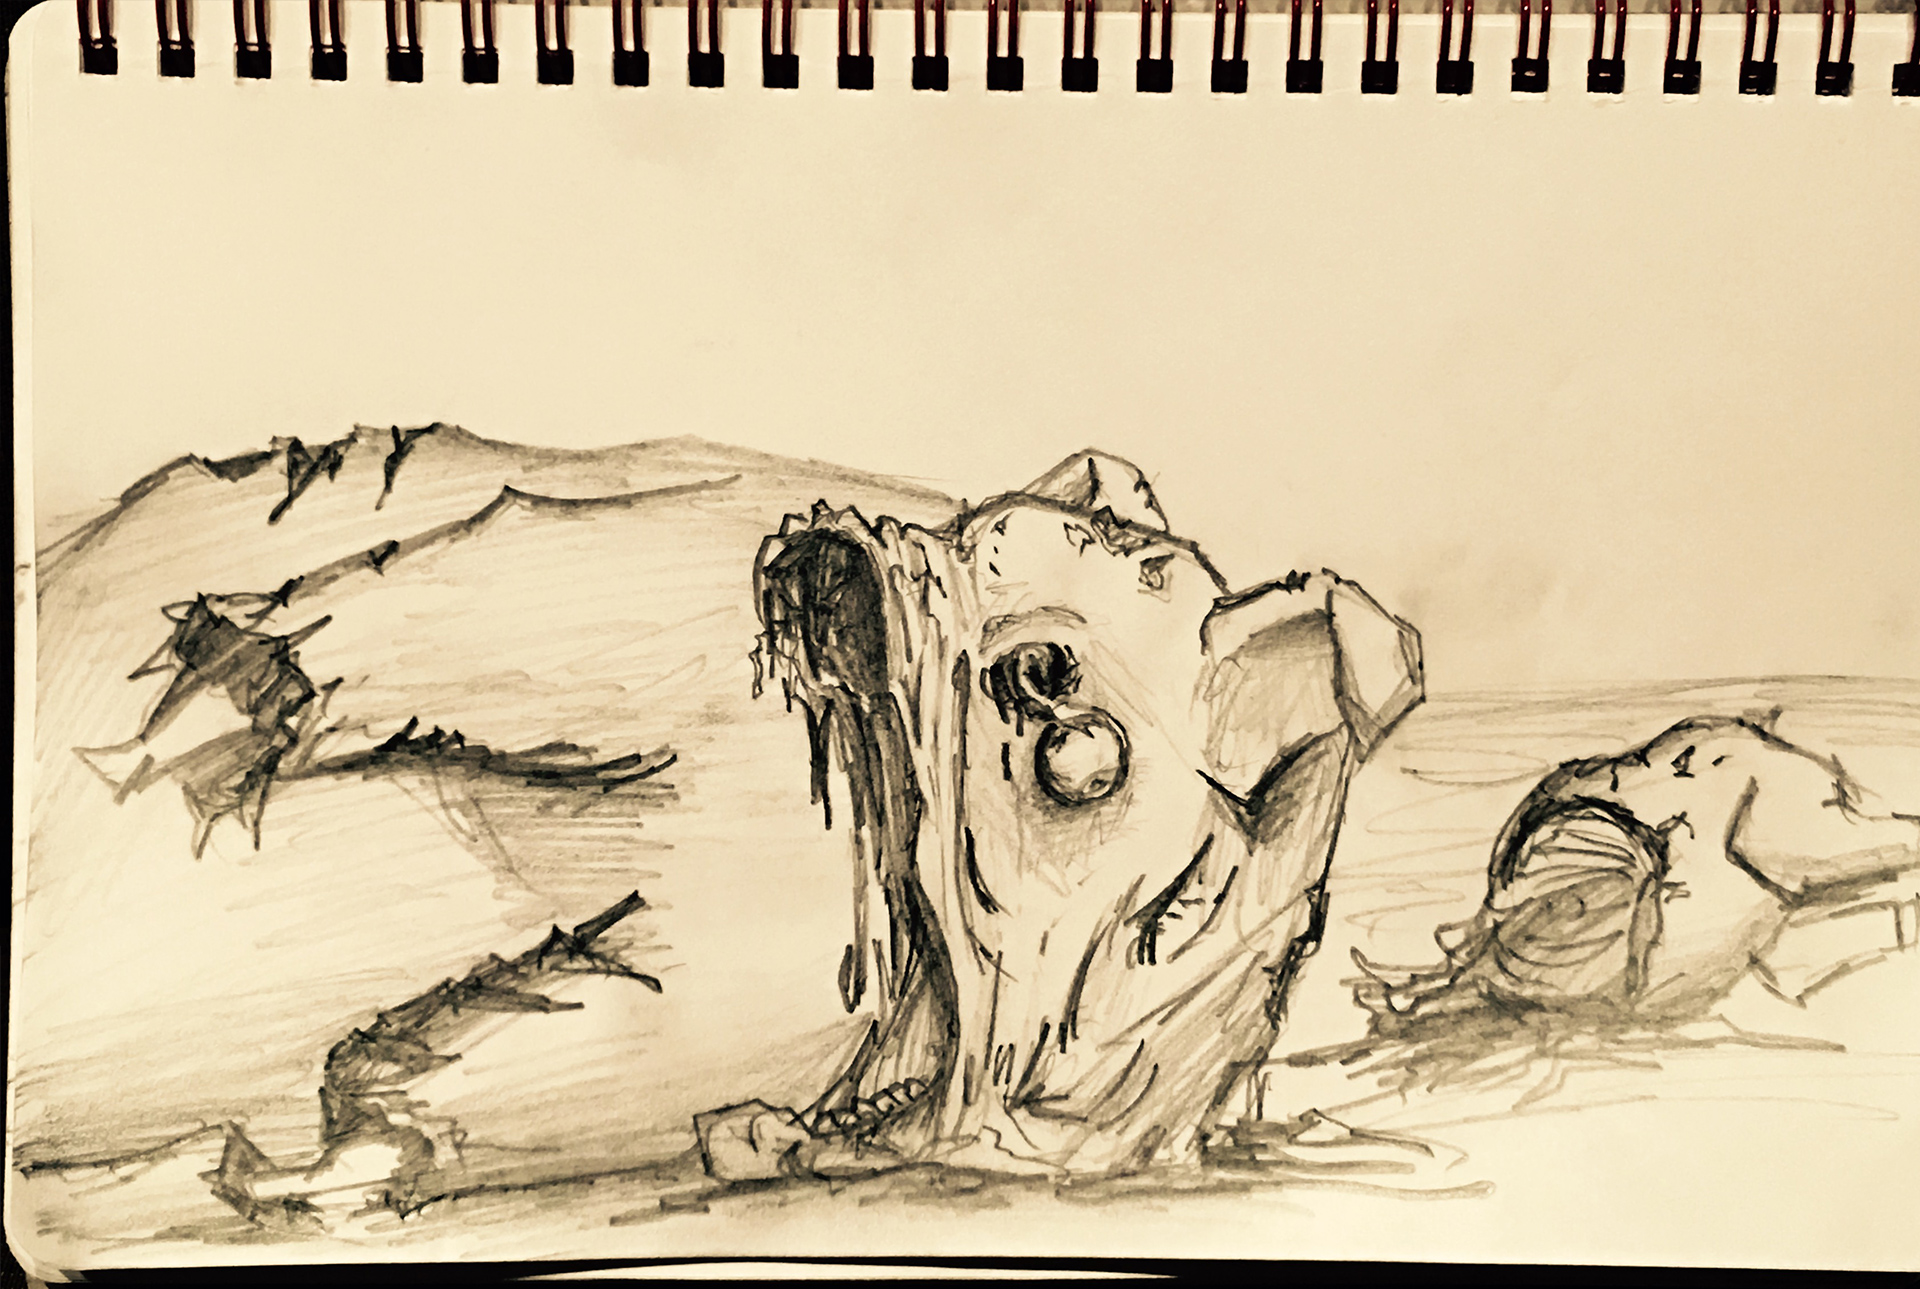
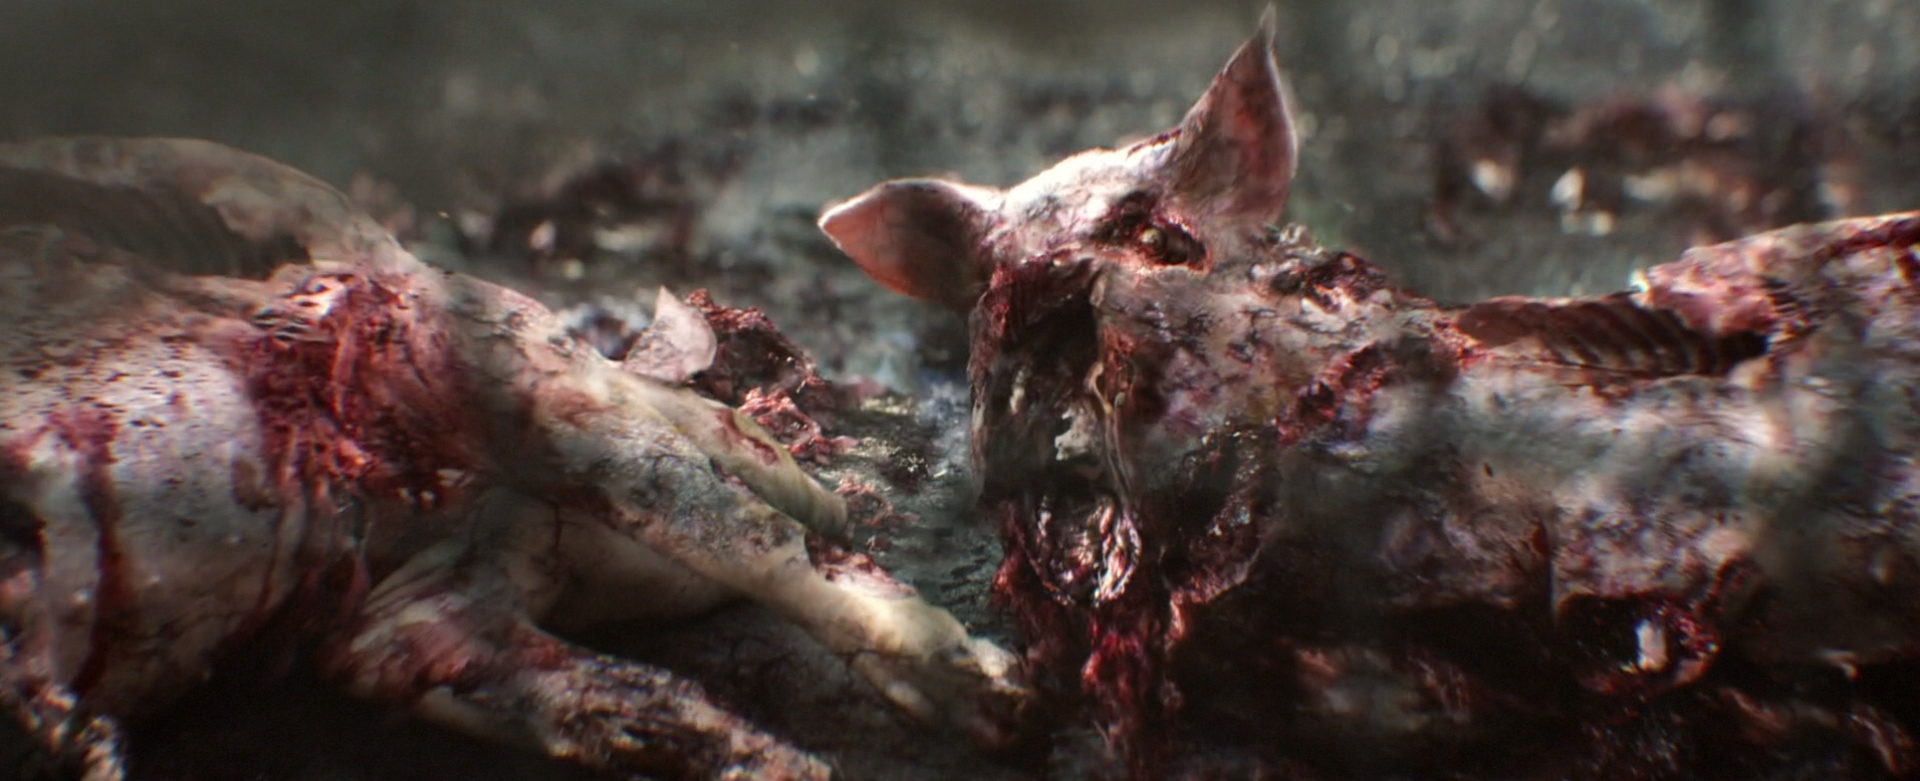
Earlier this year I had the chance to work on 10 Cloverfield lane, on this horrifying matte painting and composite. Many image-searches for road kill have scarred my mind! As always it was a pleasure to work with Dan Trachtenberg.
My work on 10 Cloverfield Lane! #nightmares #mattepainting
A photo posted by Video Copilot (@andrewkramer) on
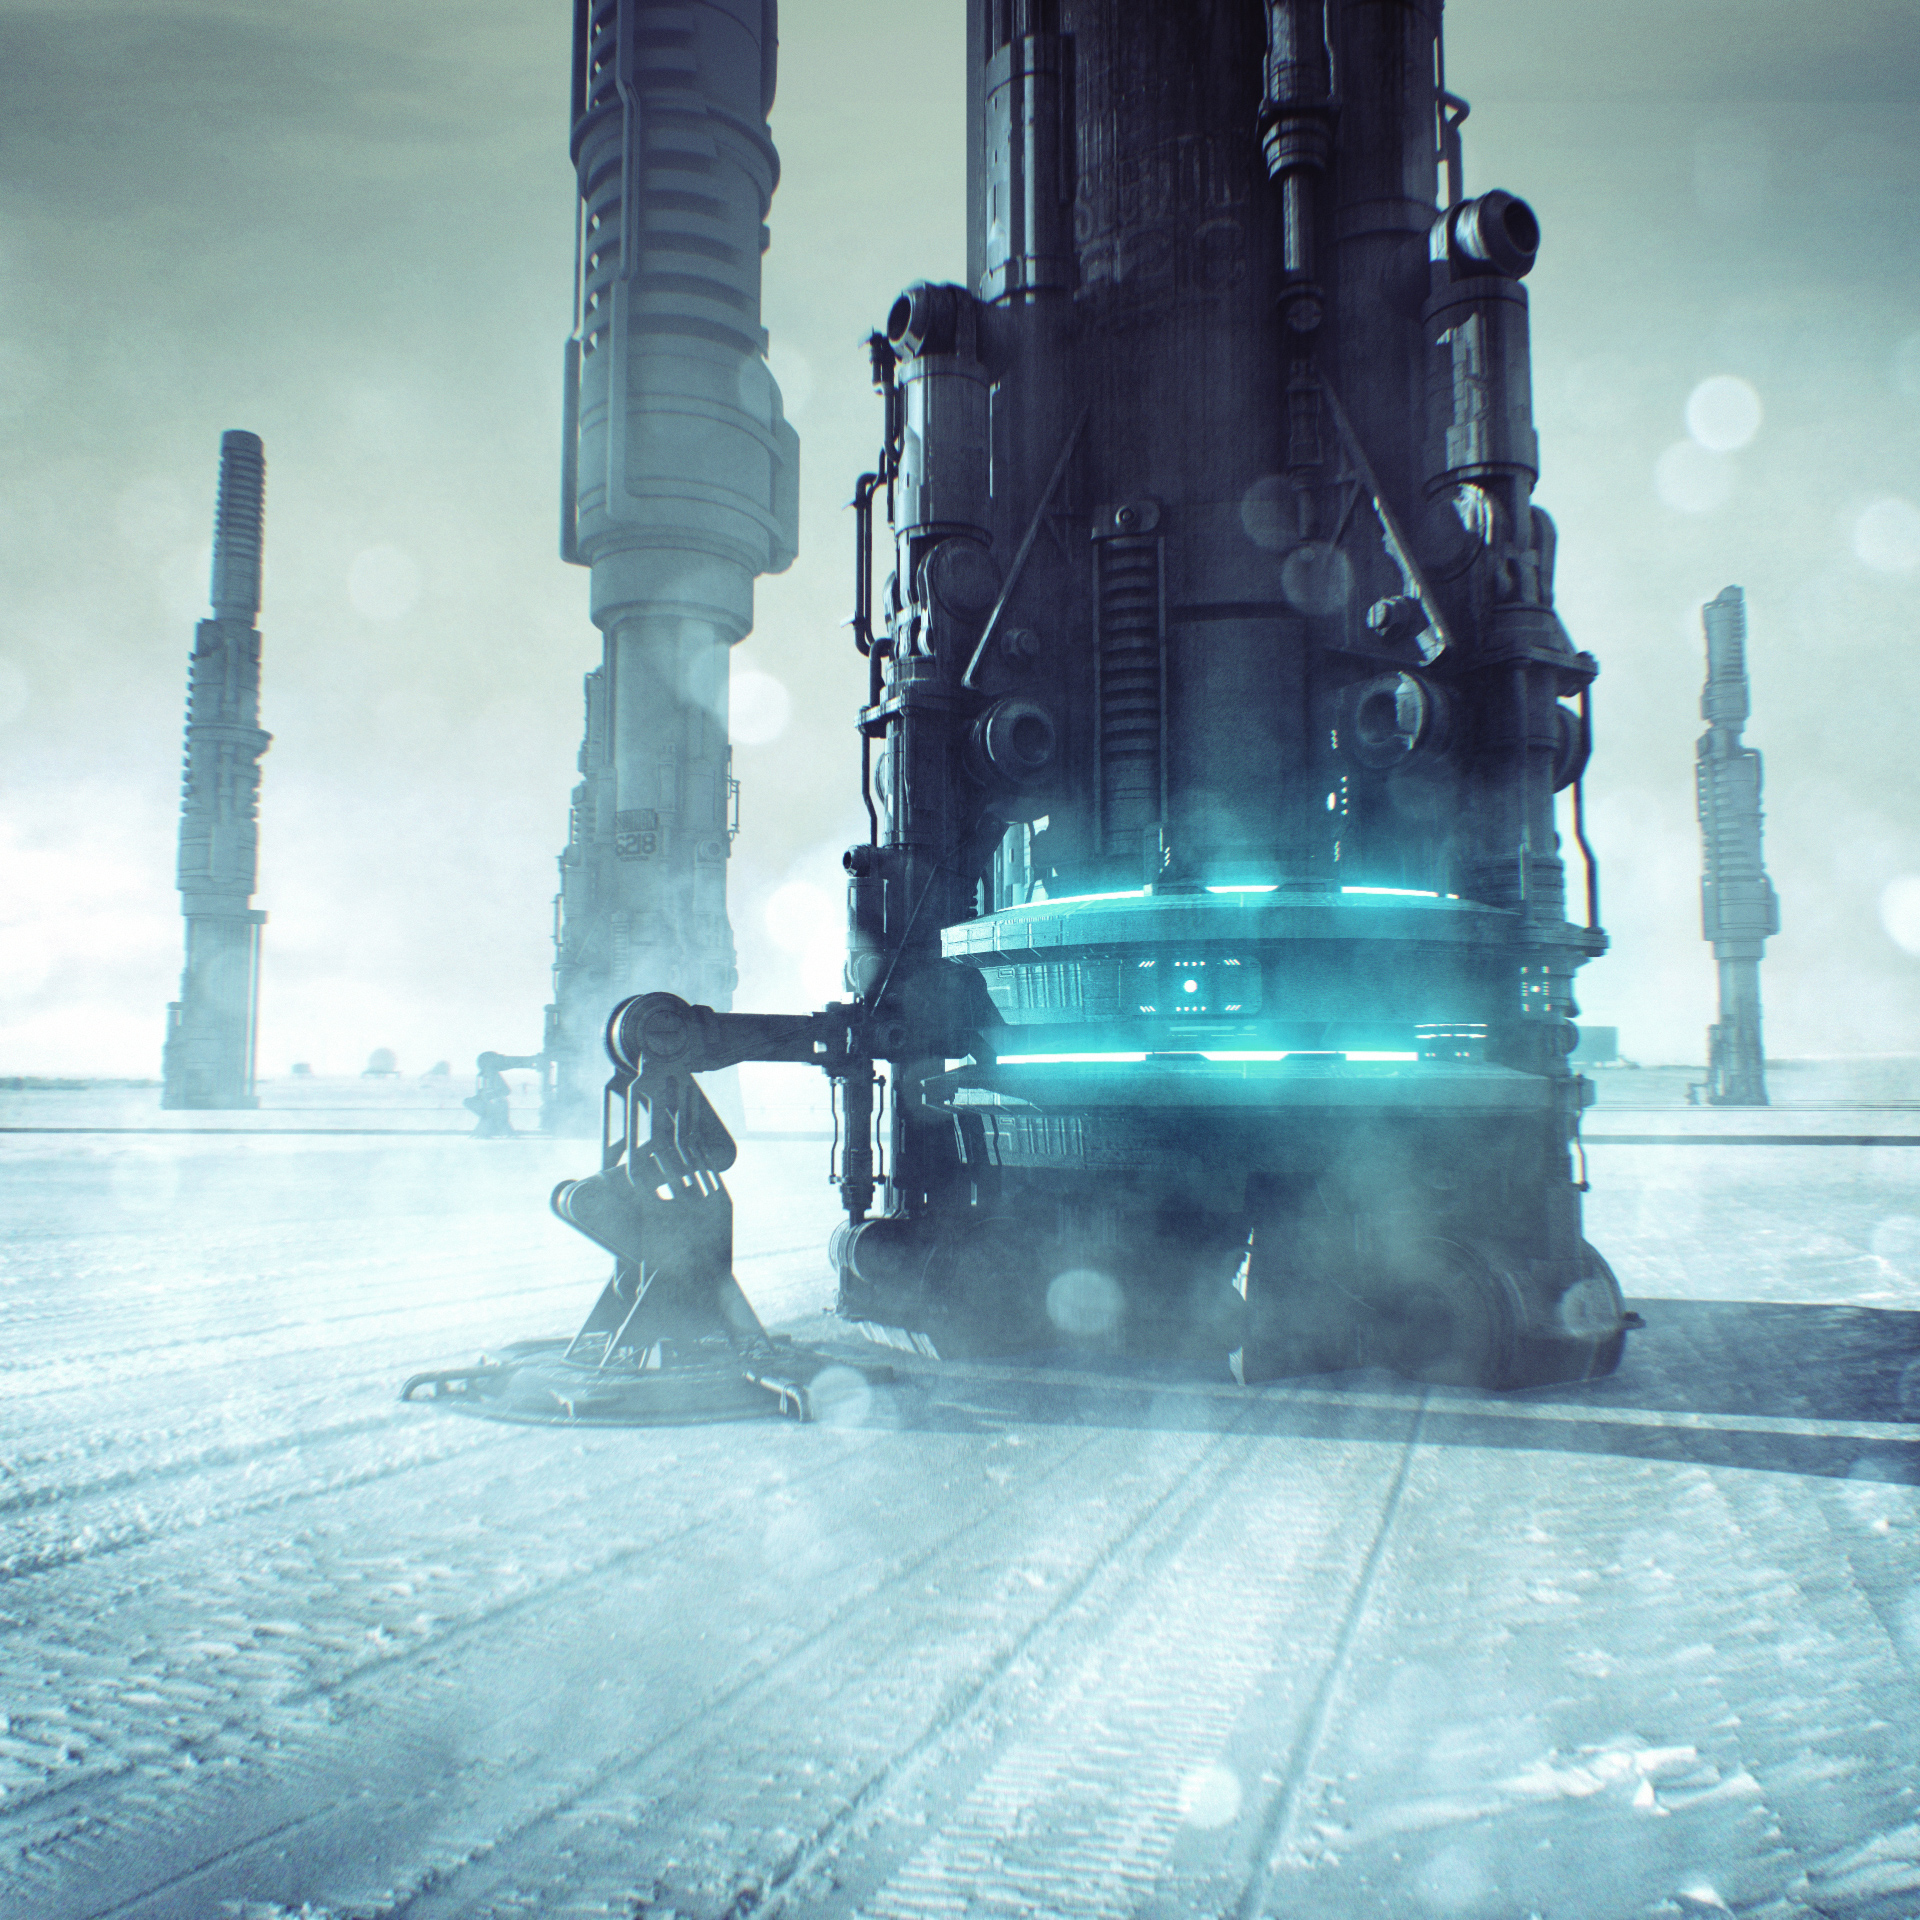
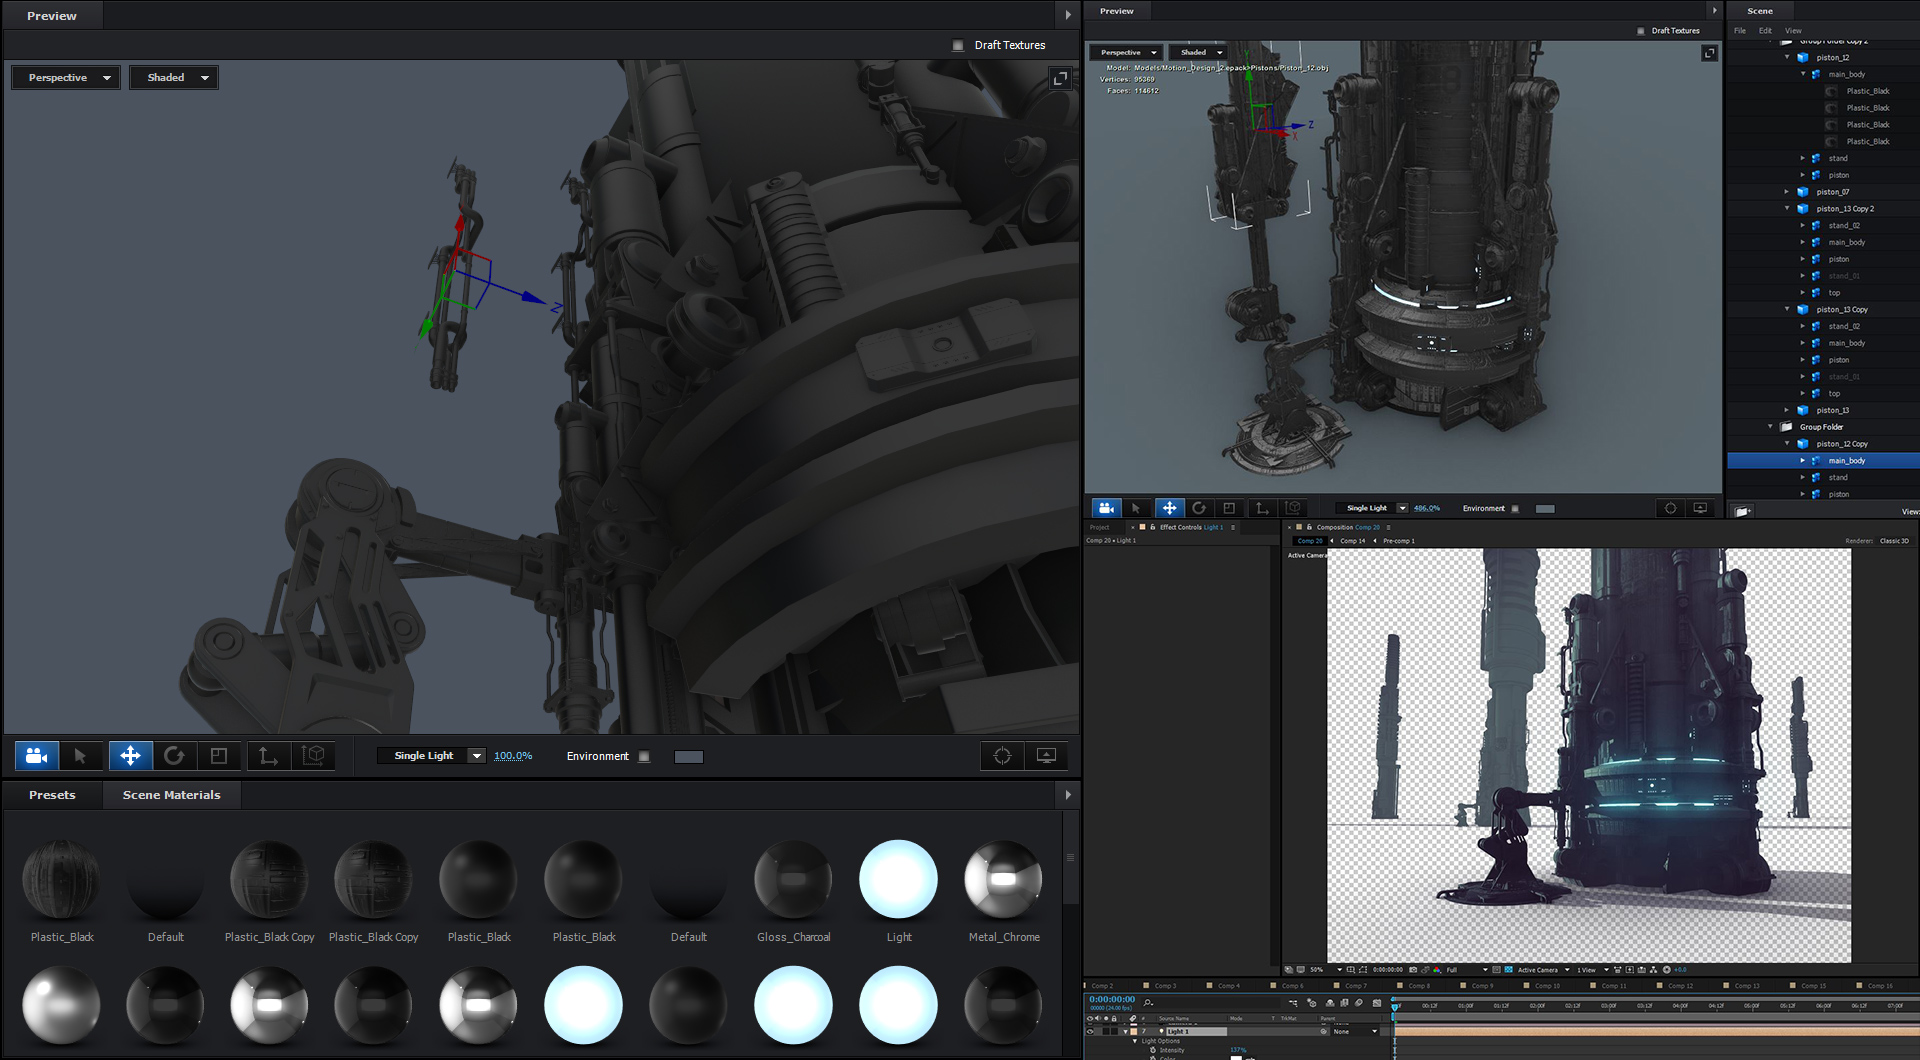
I wanted to try to create something large-scale with Element 3D. And it can be pretty tricky! Having lots of smaller details in addition to large details helps give objects a sense of scale. I started with some pistons from the Motion Design 2 collection. Then added things like pipes and mechanical components at various scales to give the object more small details. Also adding some normal map textures with various details helps give simple objects more greebles!
Things to try:
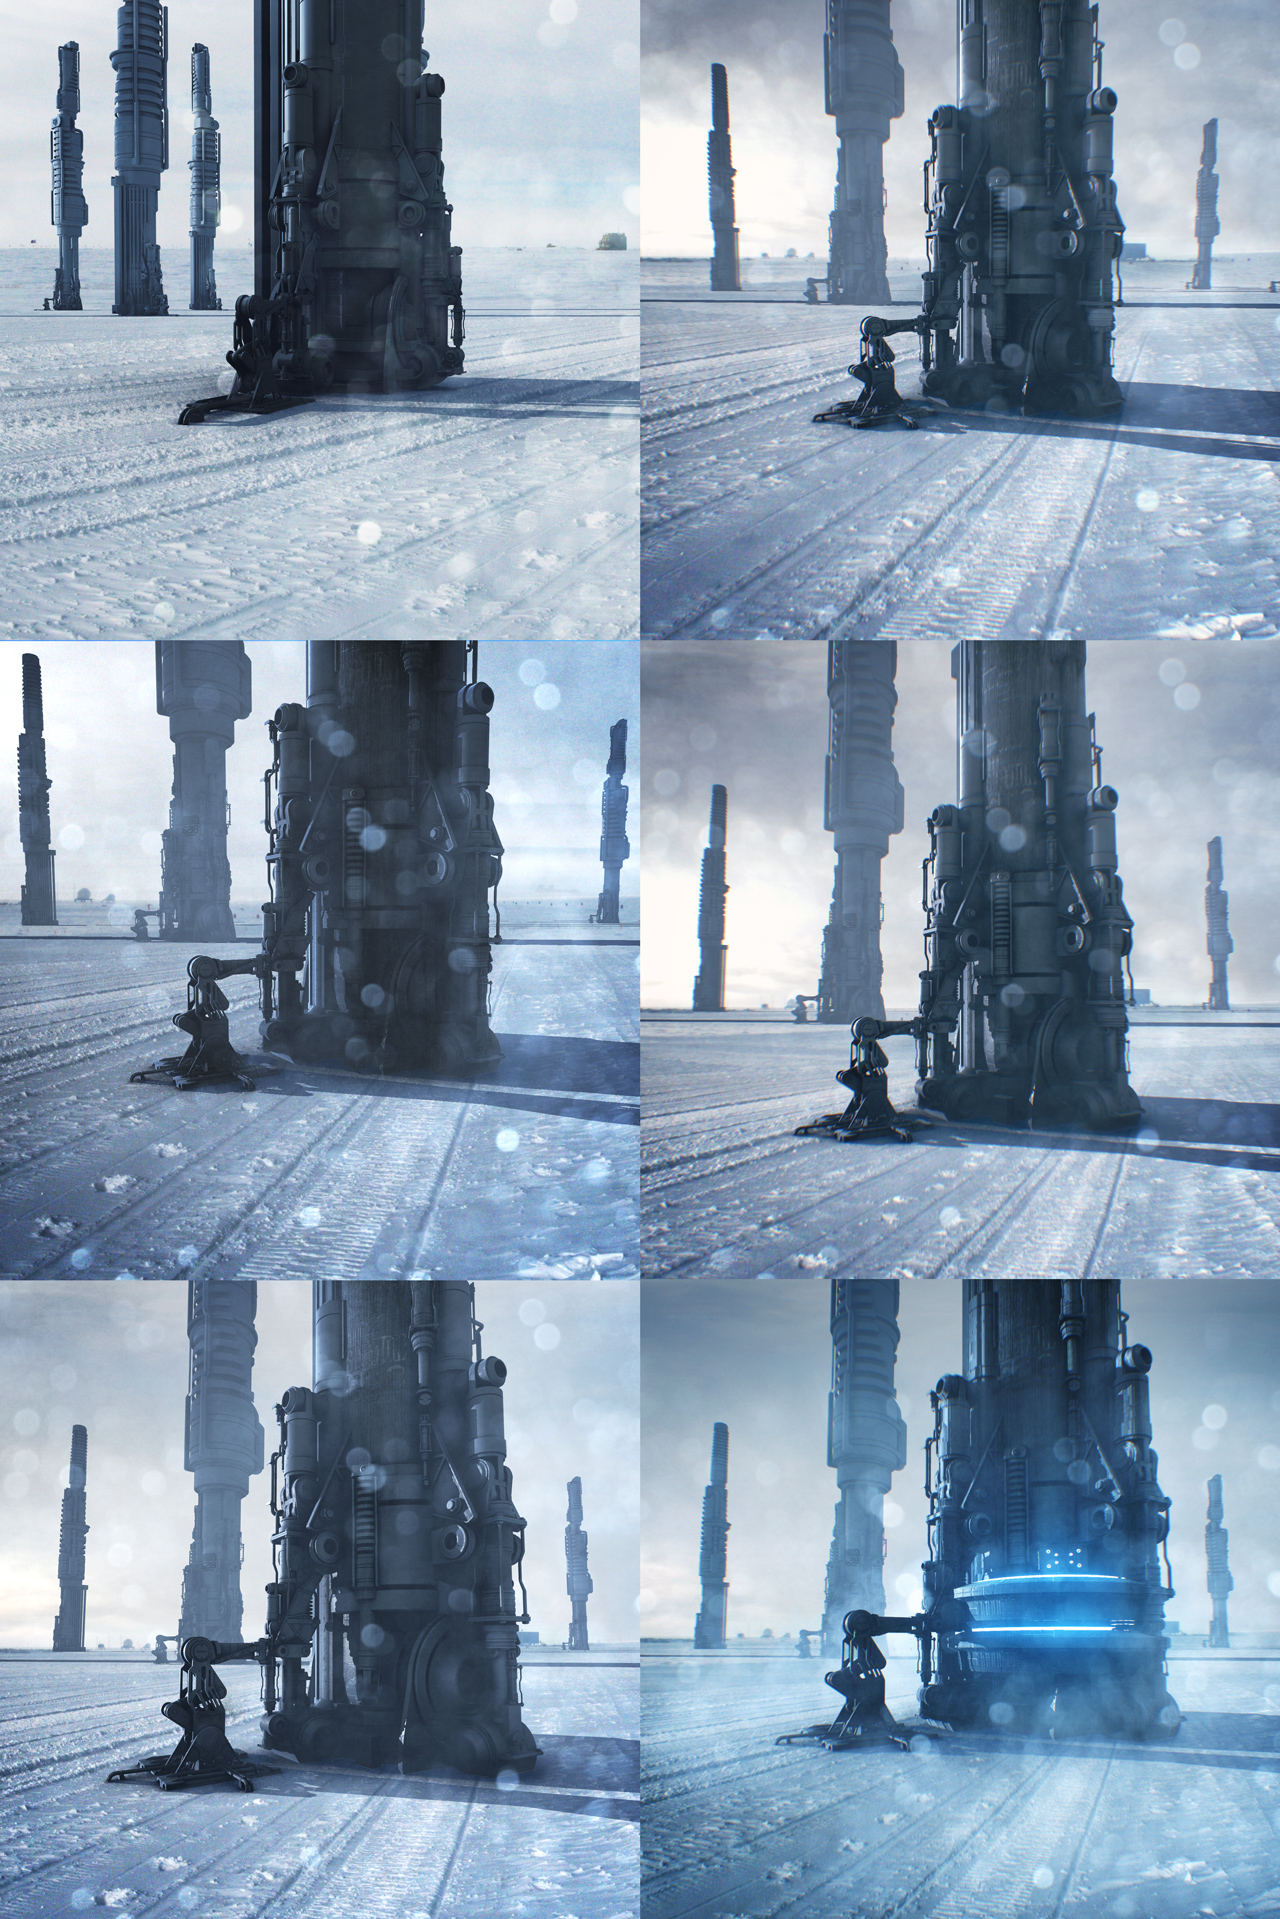
The lighting is similar to the recent rooftop tutorial. I used a parallel light with ray-trace Shadows and AO. Here are some progressions of the angle of the shot and a deviation from industrial to sci-fi. I think adding blue lights turns it into the future.
A photo posted by Video Copilot (@andrewkramer) on

Here are a few more daily renders I created while getting over this cold!
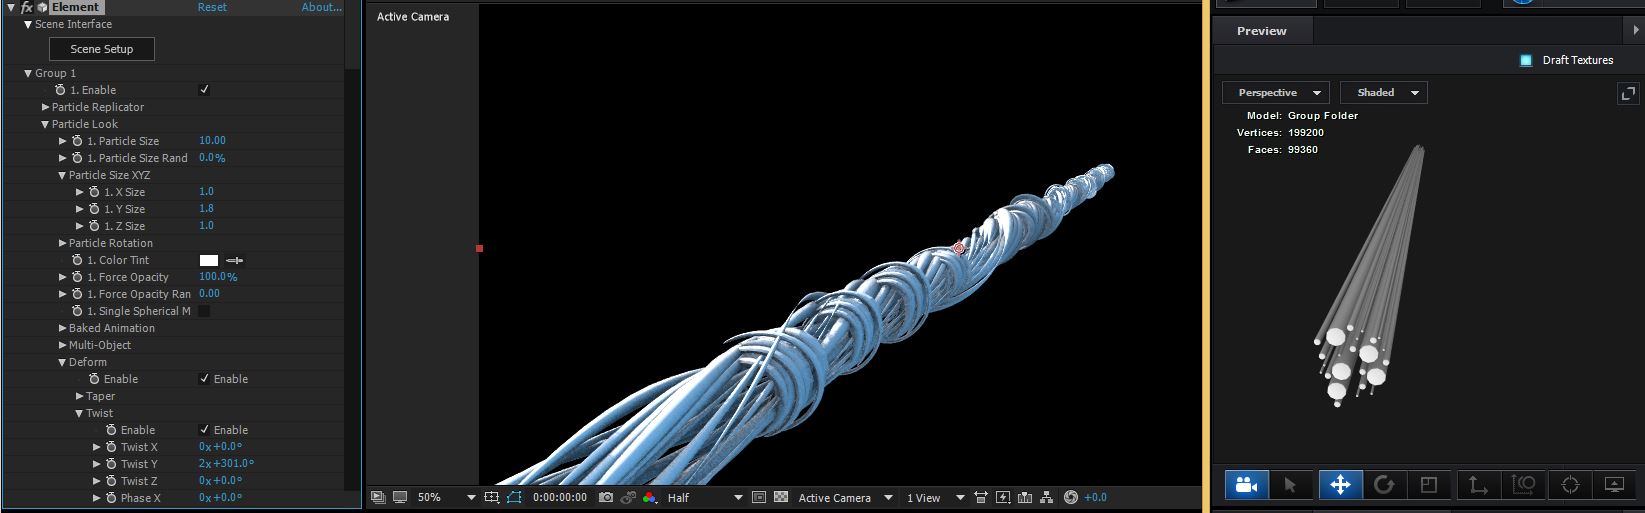
To create the wire I built a simple group of wires using several cylinder primitives. Then using a second group I created some smaller twists and scattered them along the line. In order to add a twist to the entire object I used the UTILITY export option to export and OBJ and re-import it as a single object. Then used the bend option. Making sure to turn on "Dynamic Deform" in the objects surface normal's.
A photo posted by Video Copilot (@andrewkramer) on
Logo loop! #Element3D #echo Check out the breakdown at videocopilot.net
A video posted by Video Copilot (@andrewkramer) on
Here is another fun project I created using Motion Design 2 components and an extruded logo!
Mini Breakdown:
A photo posted by Video Copilot (@andrewkramer) on
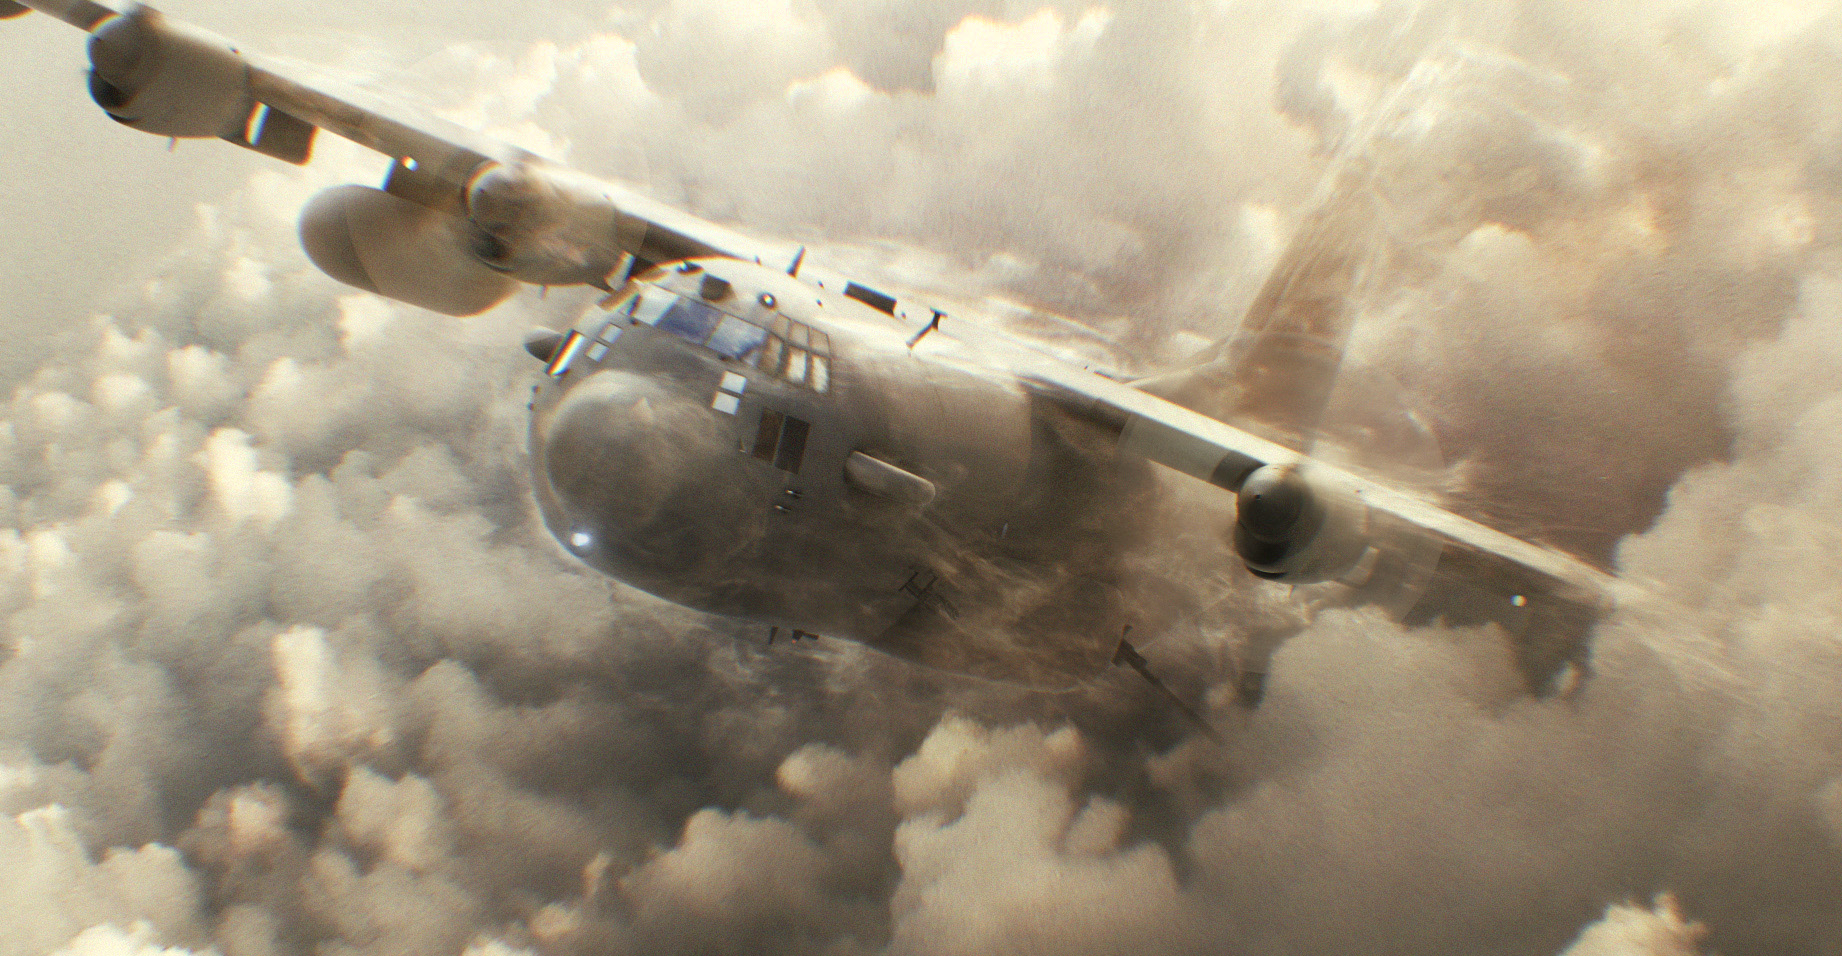
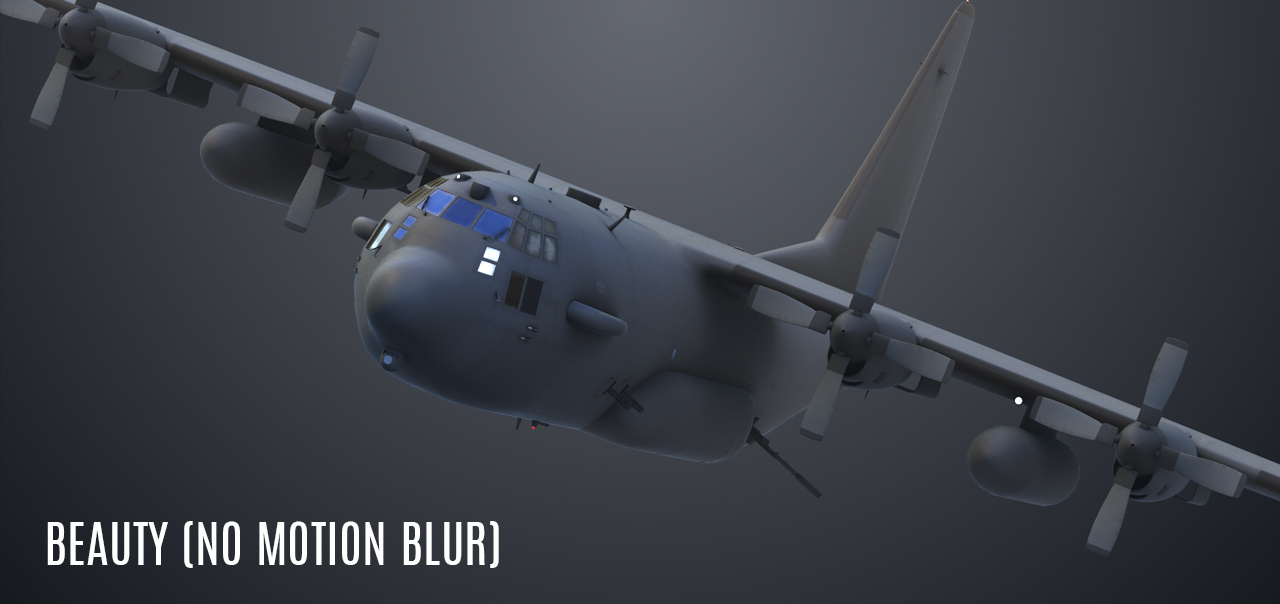
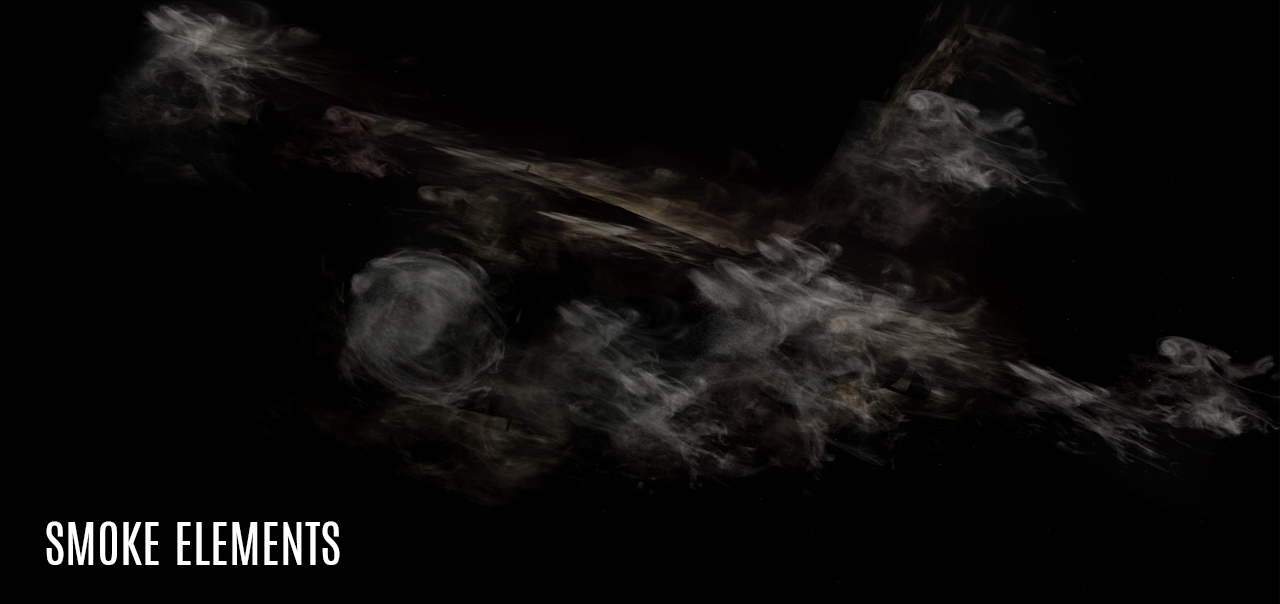
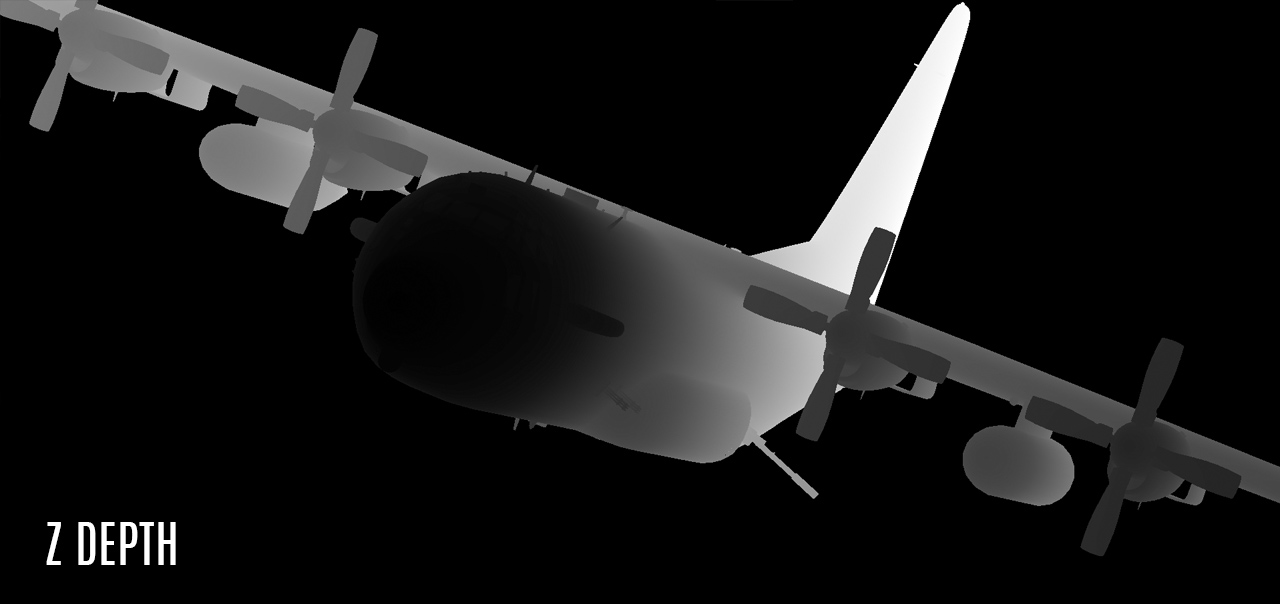
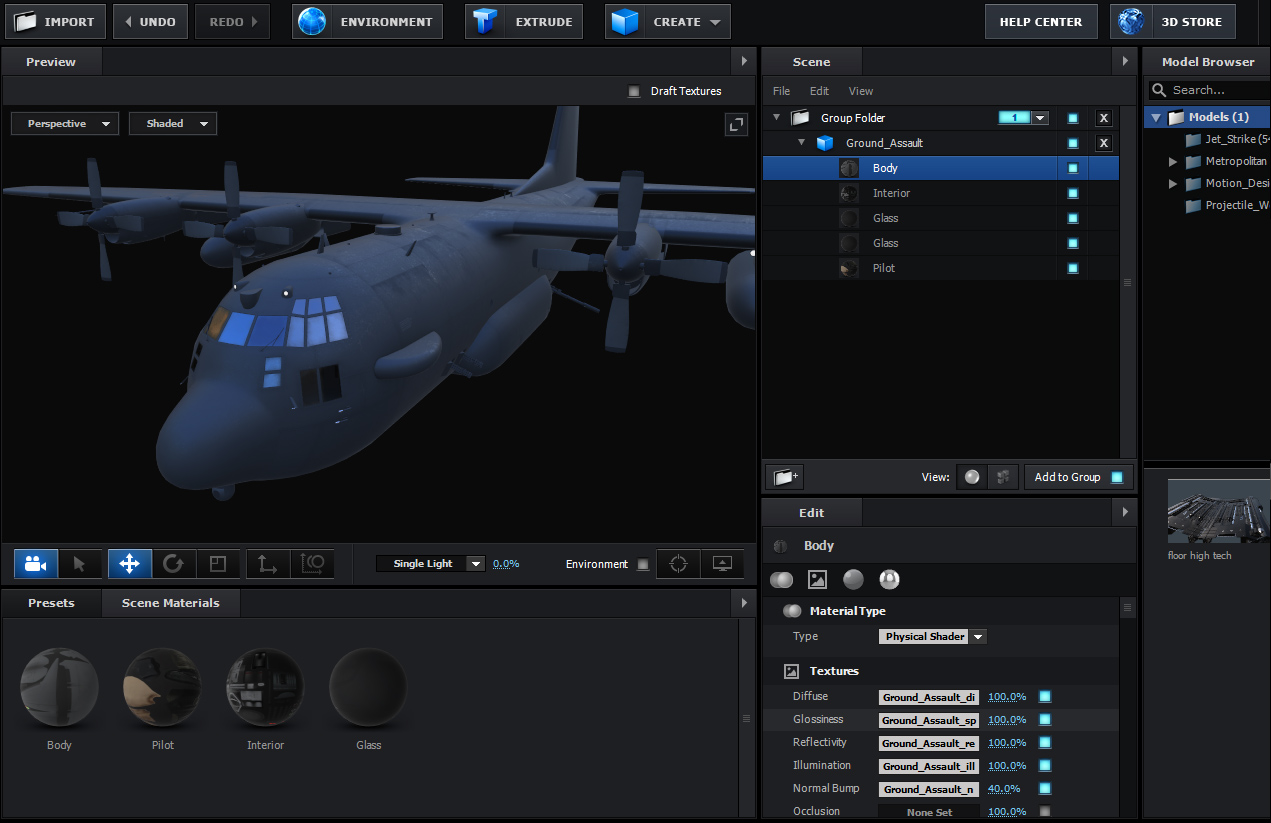
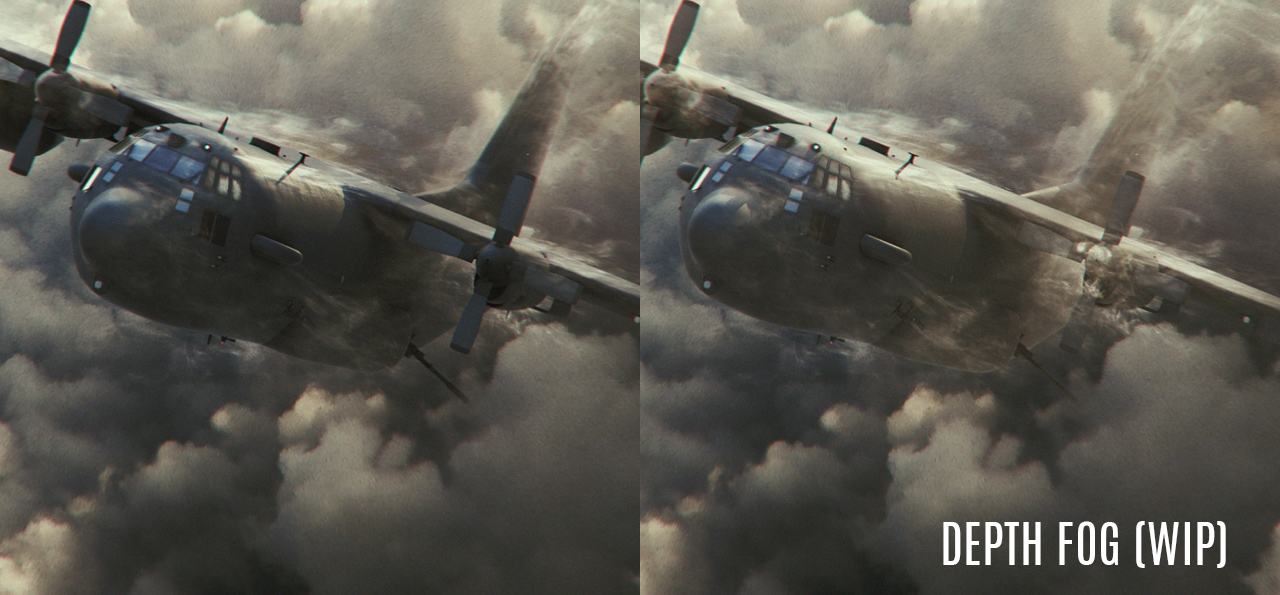
I think the Aviator was on TV this weekend so I was inspired to make this image and here is a little breakdown:
BREAKDOWN: