Happy Star Wars day! To celebrate our love for Star Wars we are giving away a sweet collection of 3D models that we built so you can learn to create your own visual effects! Our goal is to show you tips for Lighting, Rigging and animating so you can learn to create exciting visual FX too!
These are not just some piece of junk models, these models are HD quality with detailed 4K textures! Plus they render fast inside Element 3D! How fast? Fast enough for you!
We had a blast creating this collection and we hope you will have fun playing with these models too!
Just to be clear, we do not mean to imply any Star Wars endorsement or sponsorship, Star Wars was a huge inspiration to my visual FX education and we know it has inspired many others to learn about visual FX.
Note: All scenes rendered inside Element 3D V2!
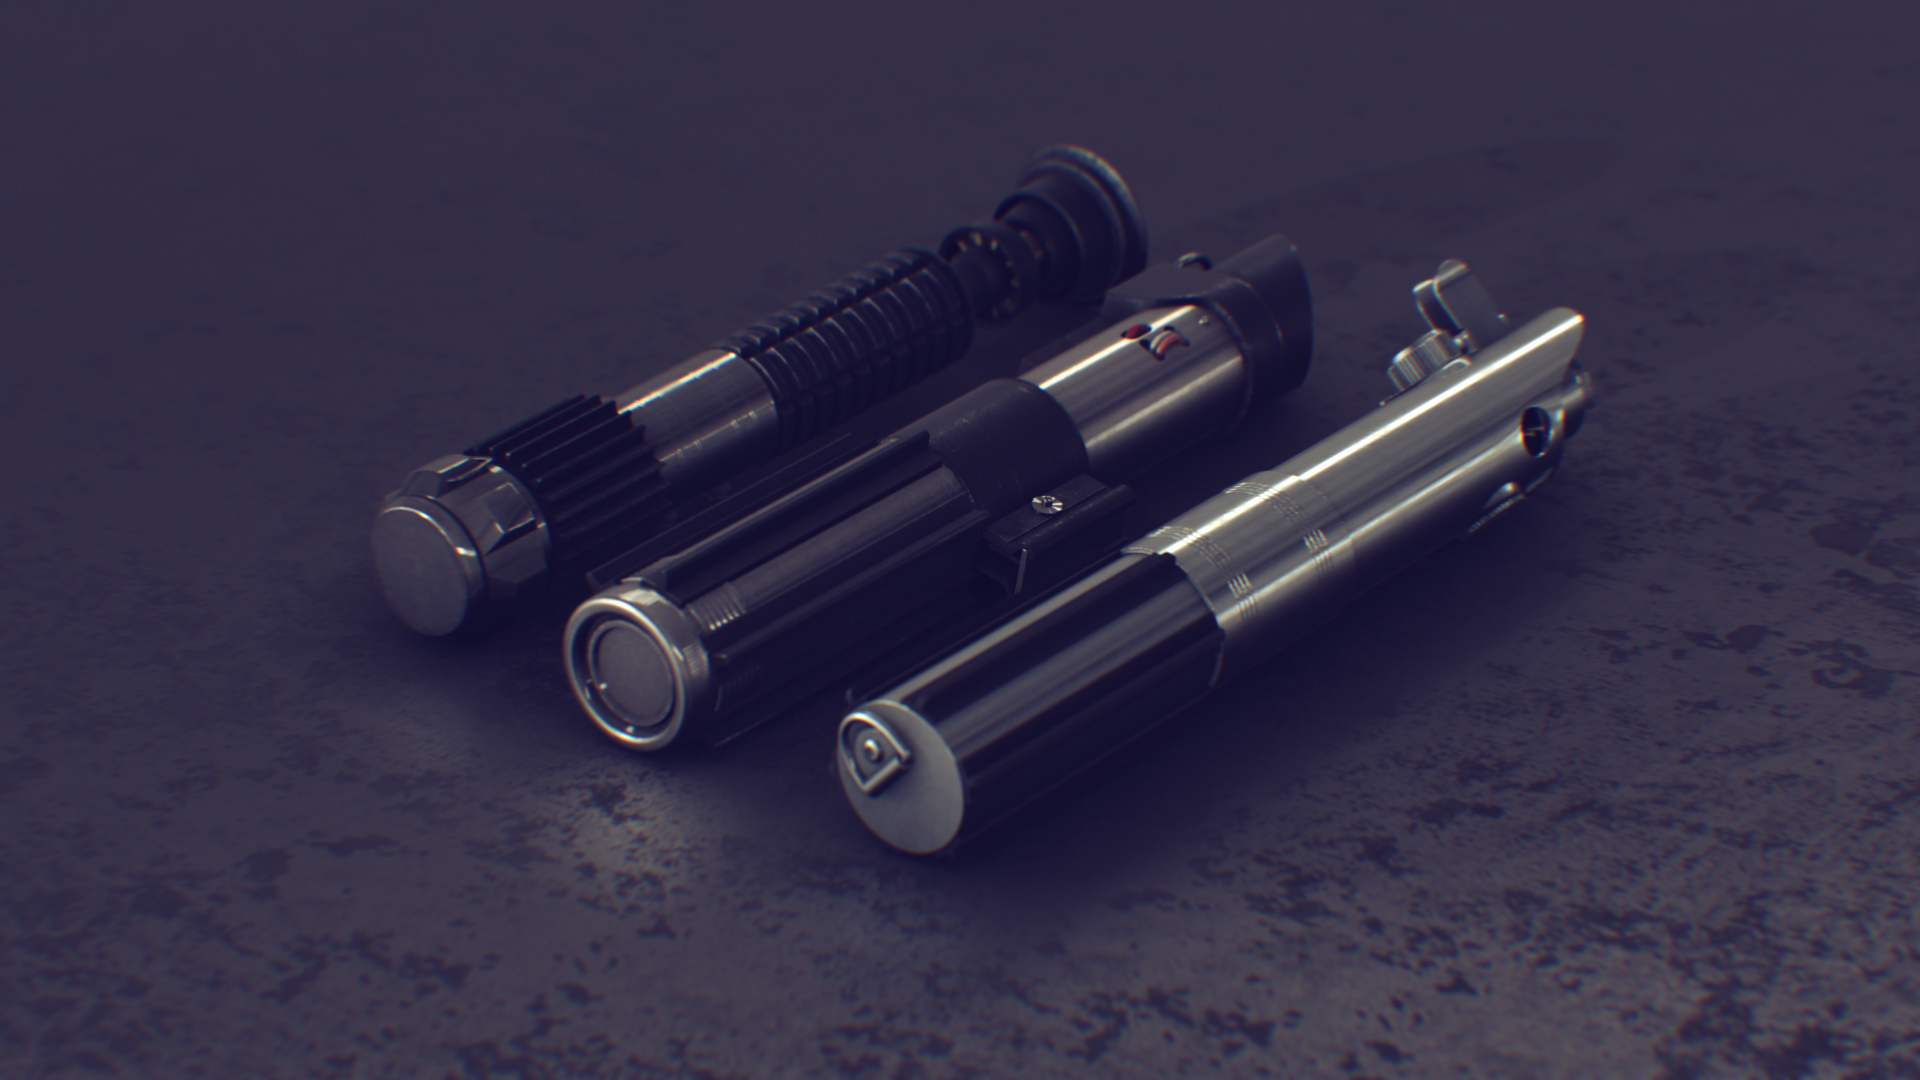
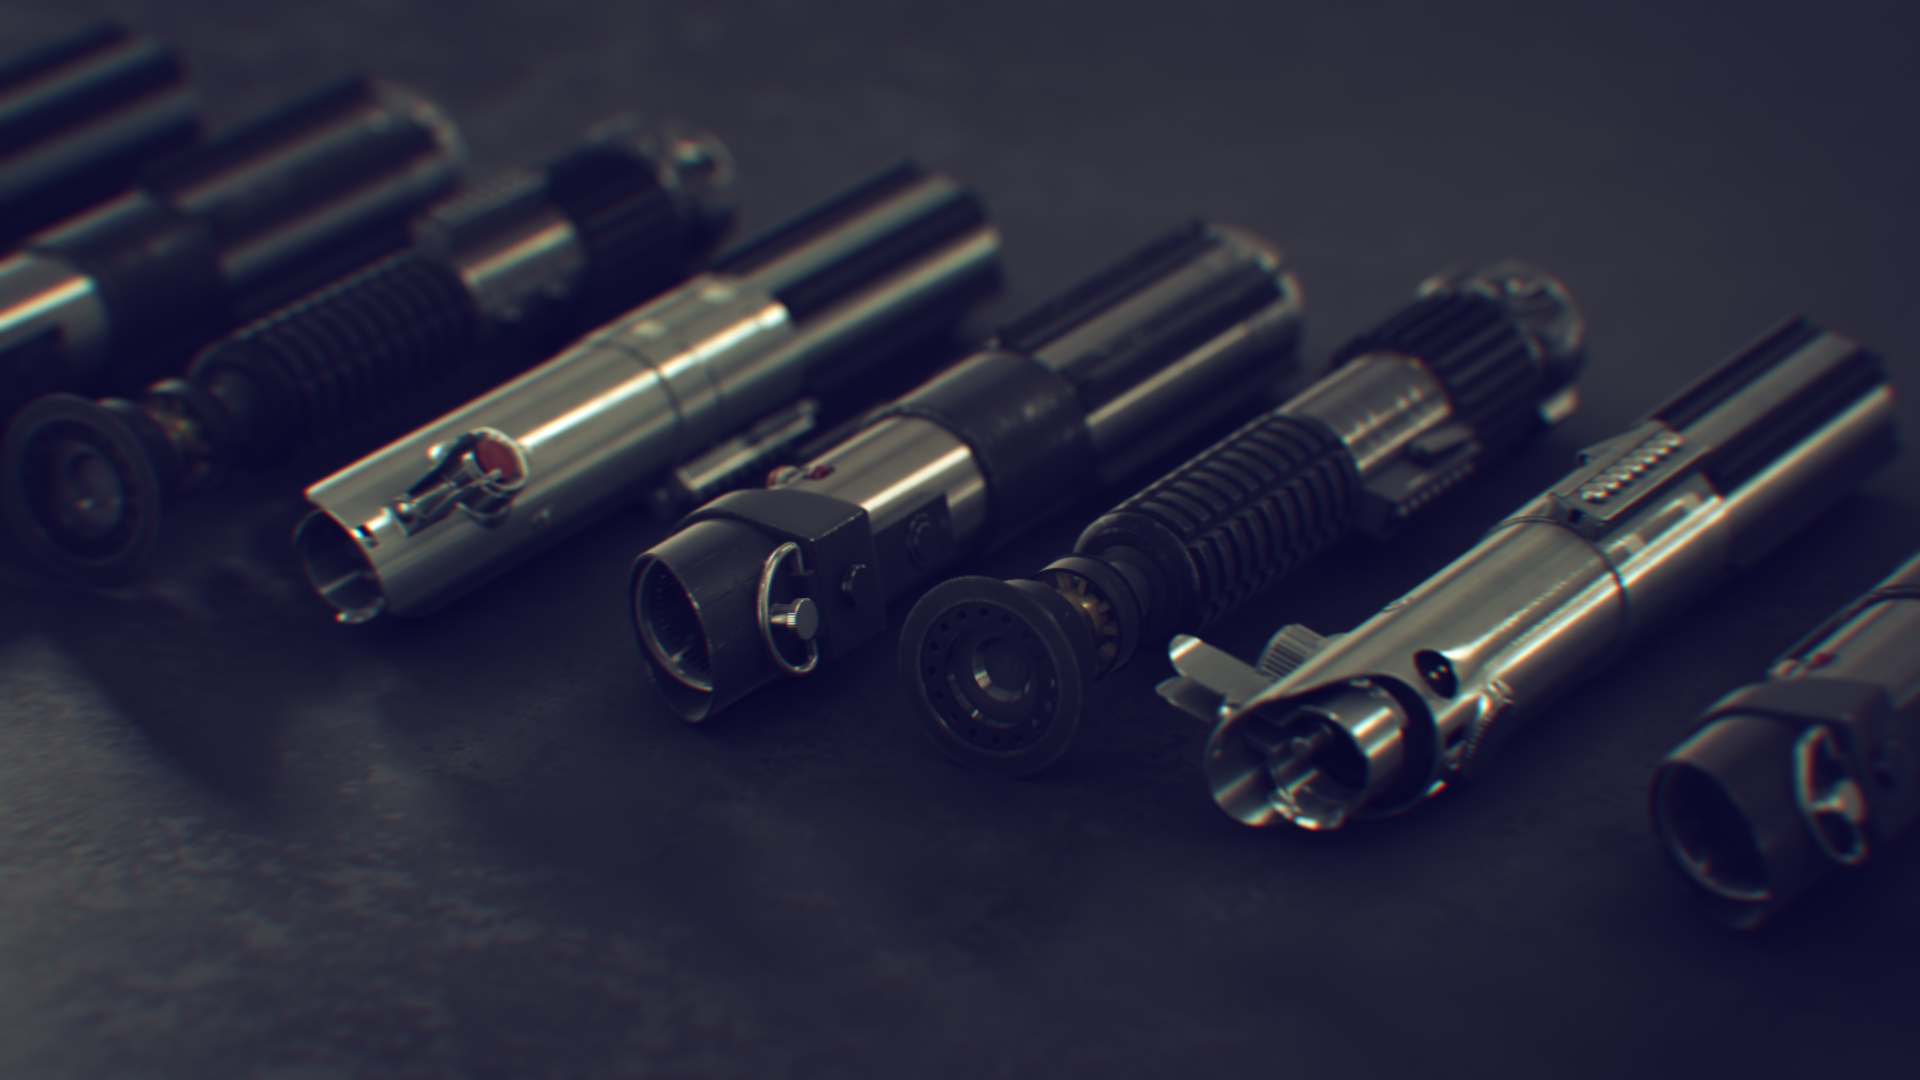
Need Light Sabers or laser blasts? Use our Free Saber plug-in!
Included Models: OBJ with DDS Textures and optional JPG files!
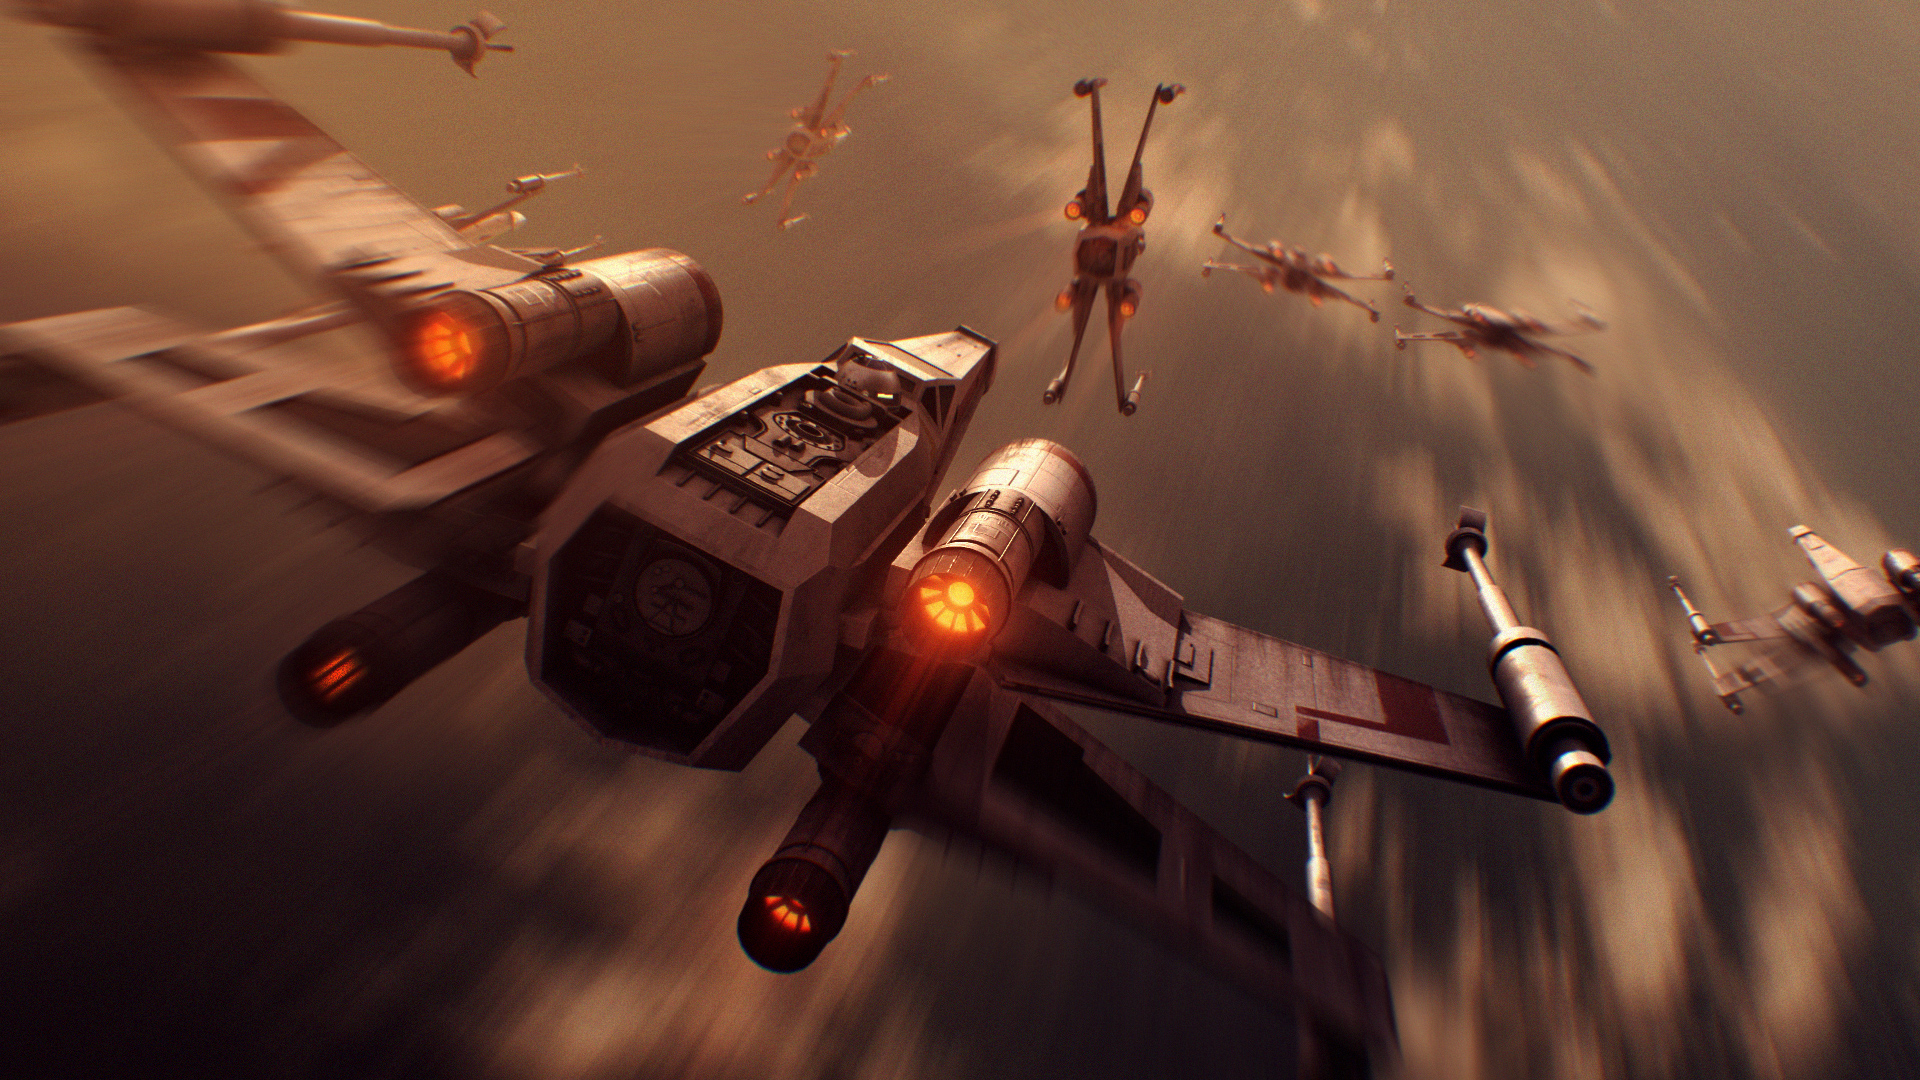
- Tie Fighter
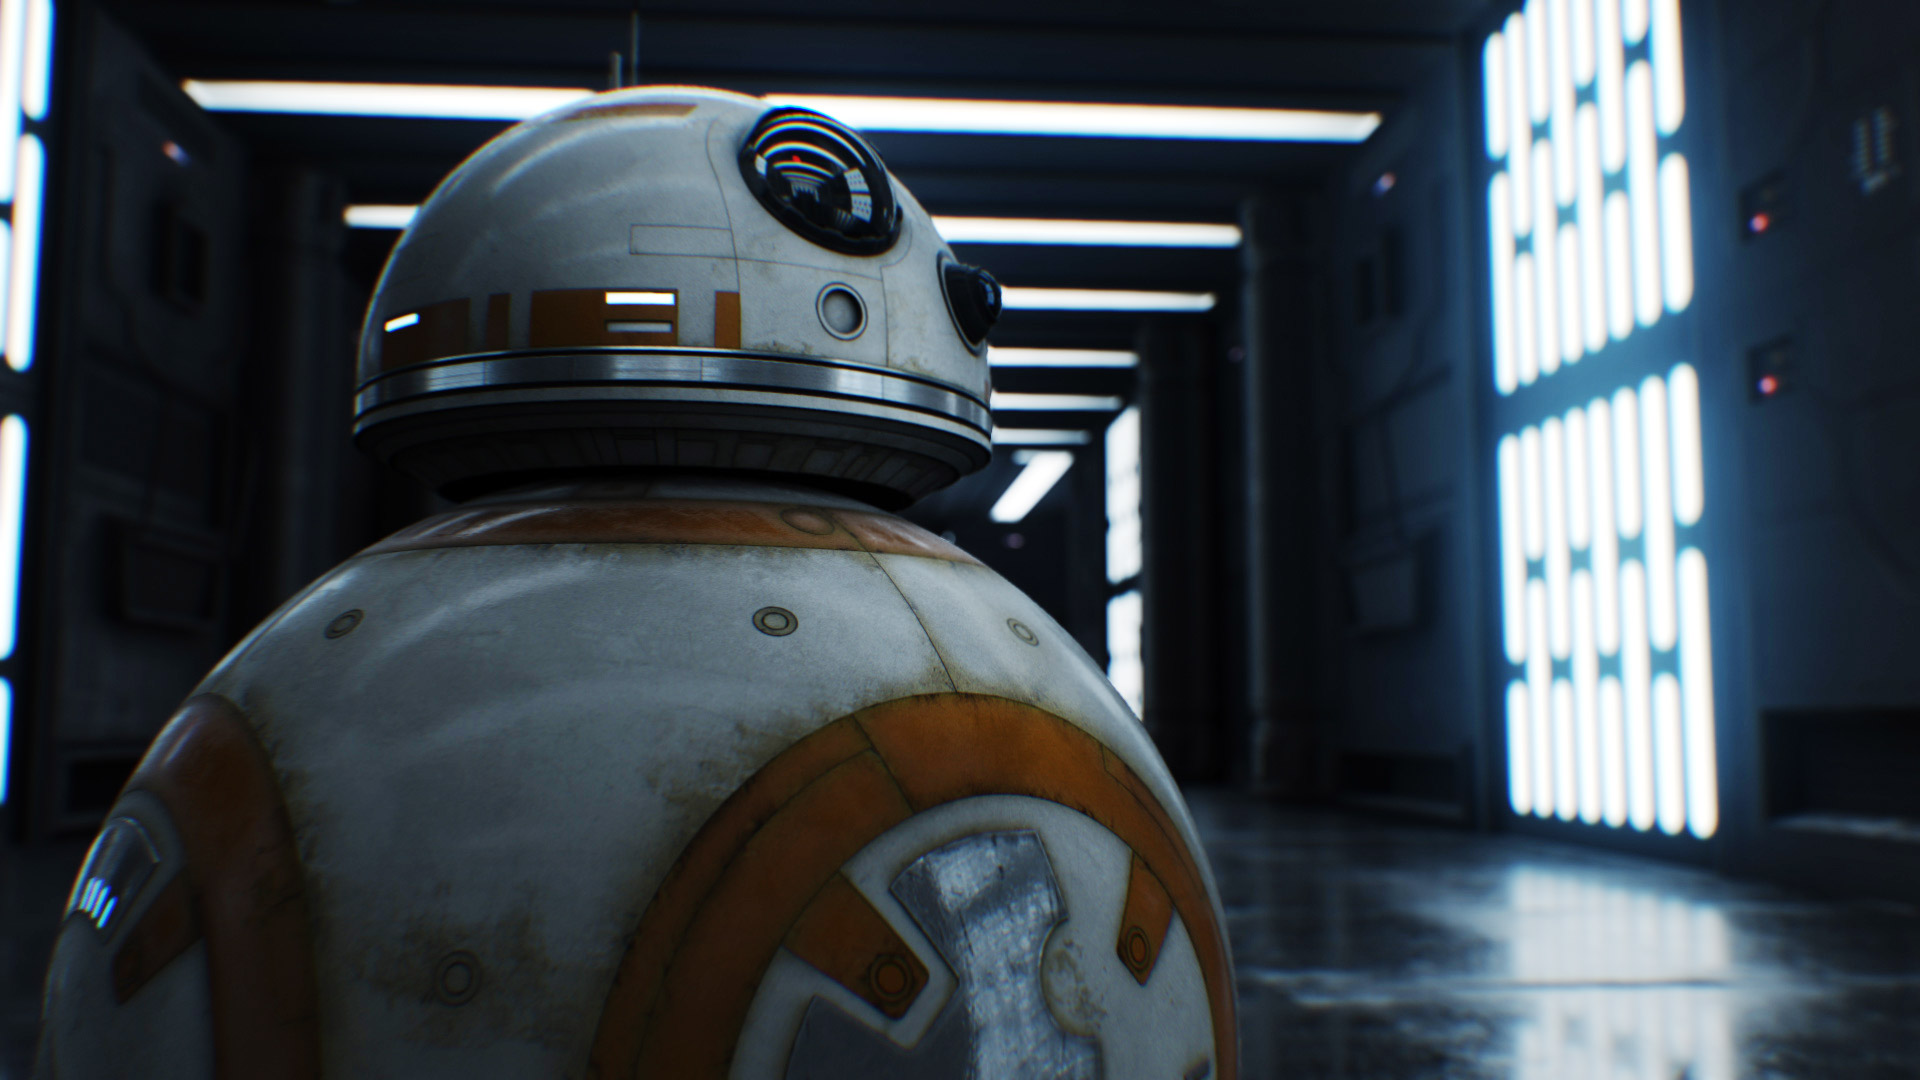
- Imperial Corridor Pieces
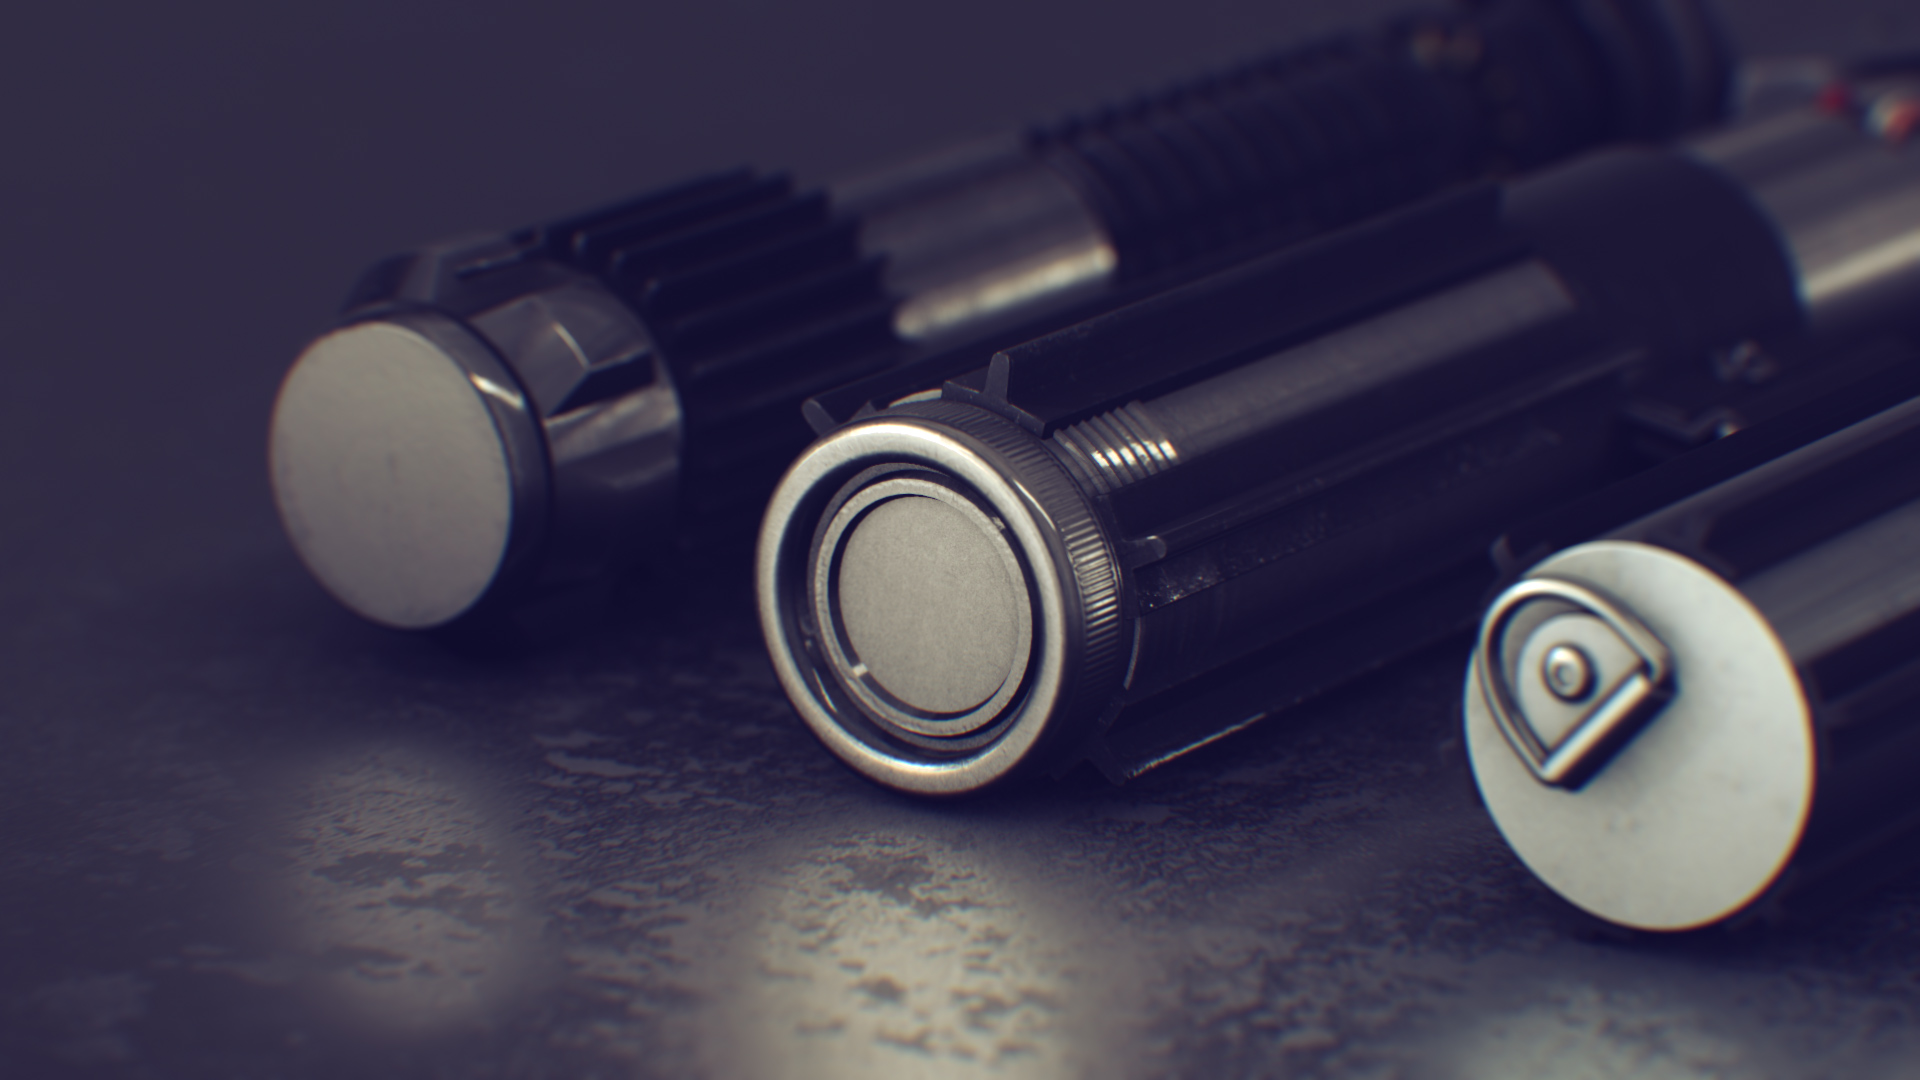
- Luke Saber
- Obi-Wan Saber
- Darth Vader Saber
|
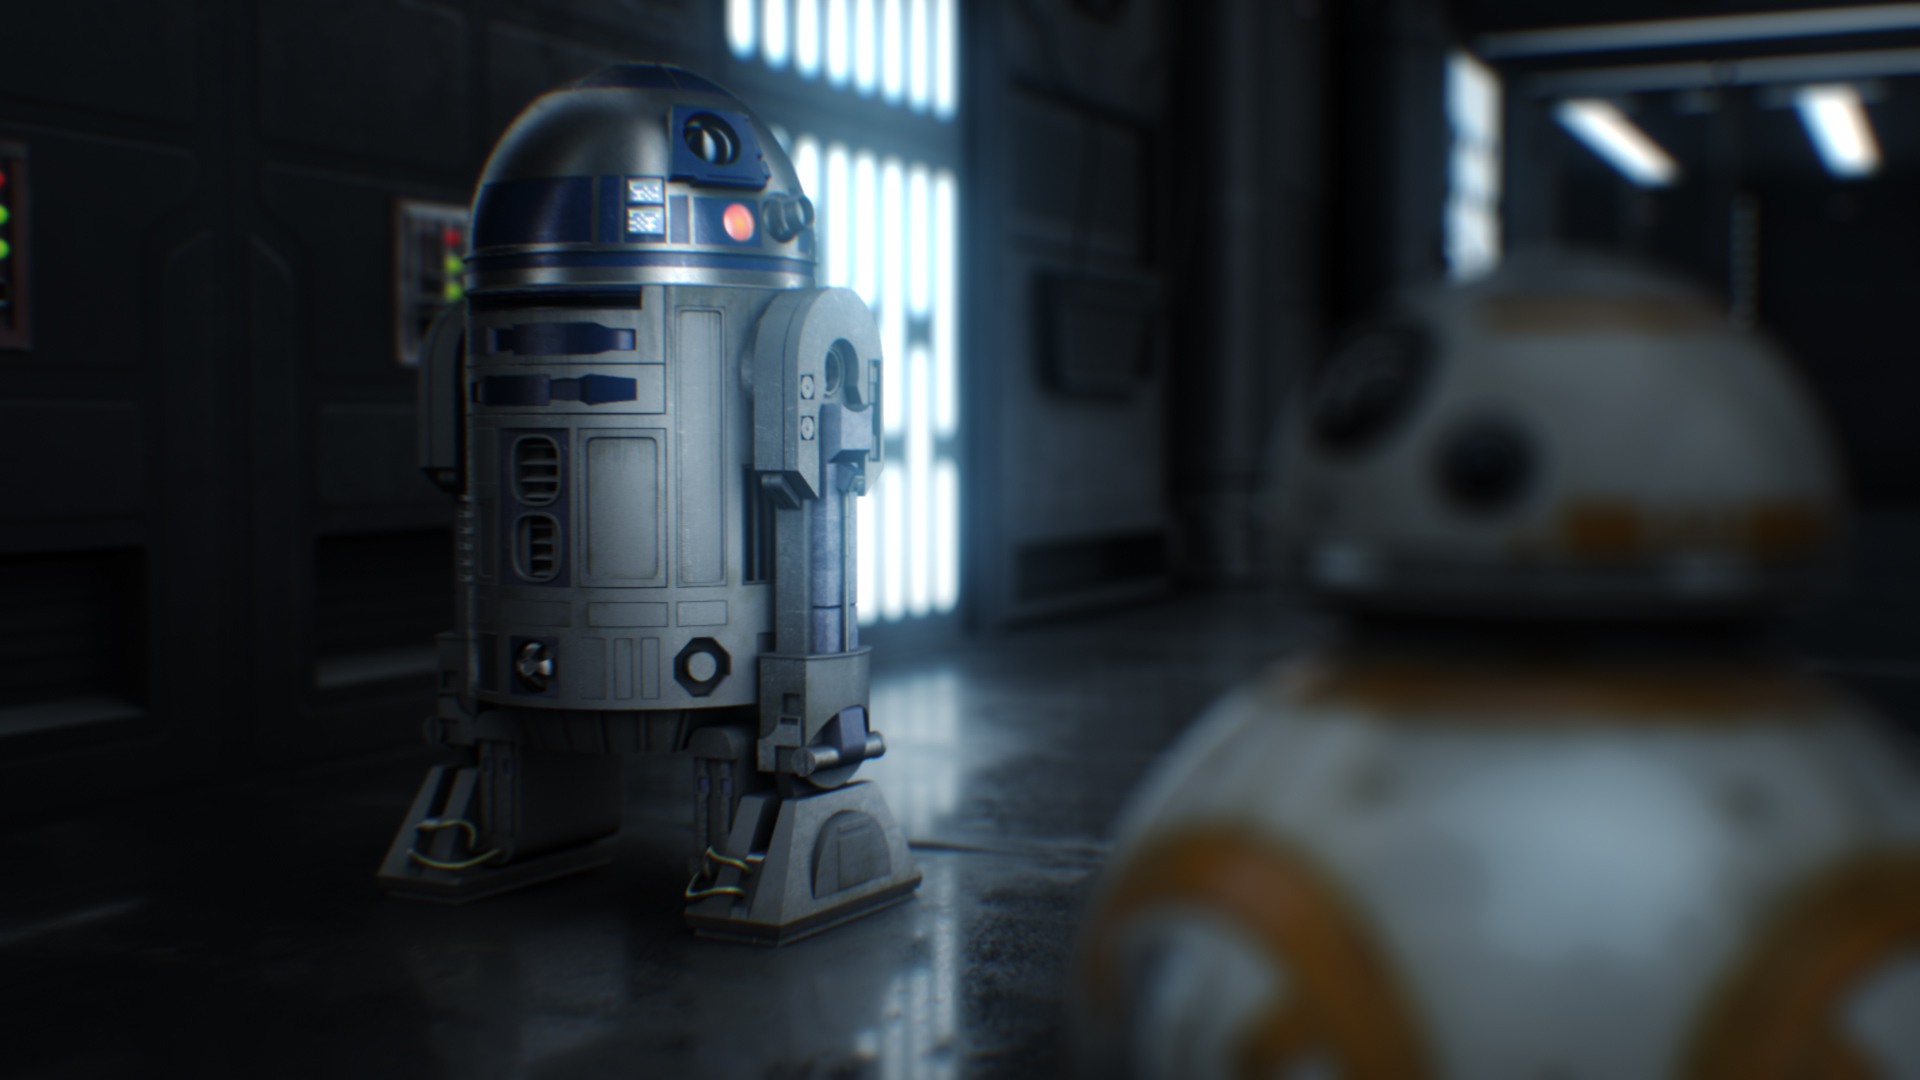
- R2-Unit
- BB-Unit
- X-Wing
- Tatooine Moisture Vaporator
|
*Some of the names included on this page are registered trademarks of Lucasfilm.
DOWNLOAD STAR WARS MODEL PACK! (Place in Video Copilot model folder)
Alternate Textures Files: Download JPG Map files
Need some LightSabers or Laser blasts? Use our Free Saber plug-in!