
Now that Adobe After Effects is running natively on Apple's M1 Macs, we're excited to announce that we've updated our plug-ins too! You can now run your favorite Video Copilot Plug-ins with Native M1 compatibility, making our tools even faster on the Mac. These updates are available right now!
May 18th, 2022
December 13th, 2021

The new version of After Effects features Multi-Frame Rendering, which allows AE to render multiple frames at the same time to speed up rendering! WeaEUR(TM)re excited to announce that weaEUR(TM)ve updated our plug-ins (including our free ones!) to be compatible with Multi-Frame Rendering! These updates are available now!
November 4th, 2019
A new Video Copilot show has splash-landed! We showed an early version of the SHOW at VC LIVE in January so we are excited to show it to the world! We made a mess so you don't have to! Just download the FREE stock footage collection and use in your own projects!
Download Slime Stock FX PACK
FORMAT: 25 High Quality 2K+ Prores: USE After Effects or Premiere to preview!
Note: Most video players on PC do not support pro res.
In other exciting news, early this year I helped create a big project for THX and even though it was extremely challenging work (especially trying to finish development on new plug-ins) But the chance to learn Cinema 4D more deeply and manage a complex project was a great experience for my personal growth. Sometimes it takes a big objective to overcome the difficulty of learning new programs.
Even more exciting, we are already working on a BIG Behind-the-Scenes video and tutorials around the work we did on this project and it's massive. The transitions were a lot of fun and some parts simpler than they look!
Don't worry, still finding time to discover new tricks in After Effects!

January 25th, 2019
Just got to London to begin the Video Copilot LIVE! Tour. Sleep schedule is almost adjusted! Saturday we'll be in London and Paris is next week! There are still some tickets for Paris if want to come!
Video Copilot LIVE! 2019
Show Tickets and Information!
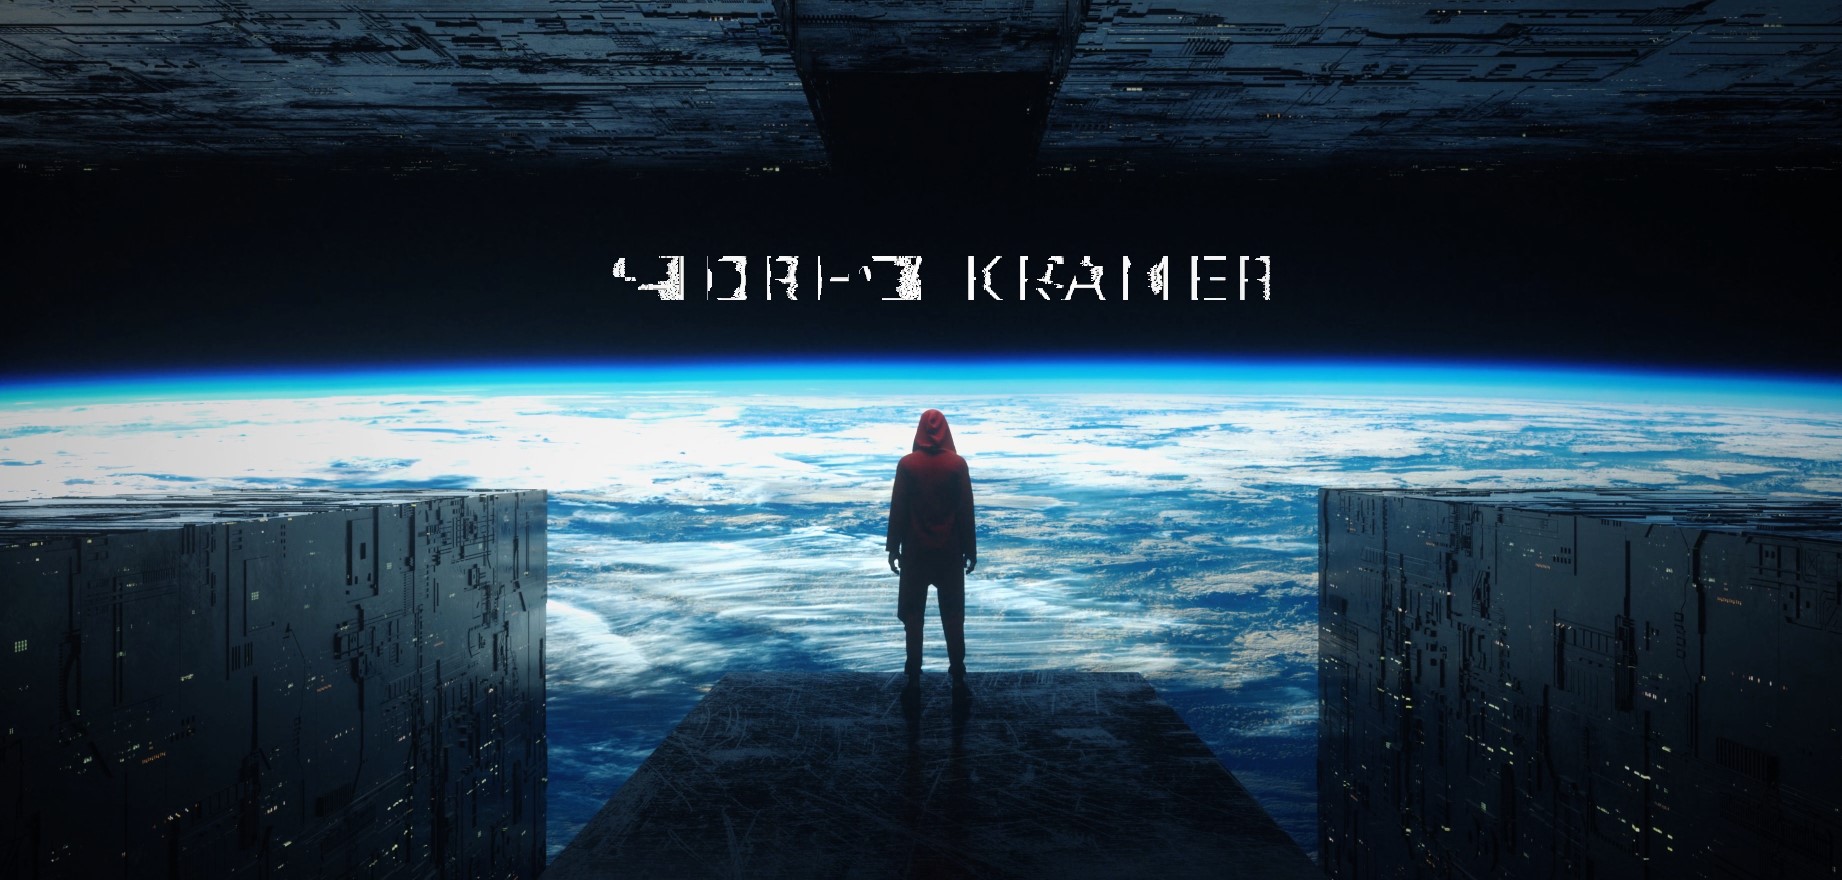
Beautiful Title sequence created by: Mehdi HADI Please follow!
January 22nd, 2019
One of the more exciting things about our upcoming Europe Tour is collaborating with amazing designers to develop a unique Title Sequence for each city. We are thrilled to release the first title sequence right now! Cinema 4D, After Effects helping to make it happen!
Tickets for the show are available now!
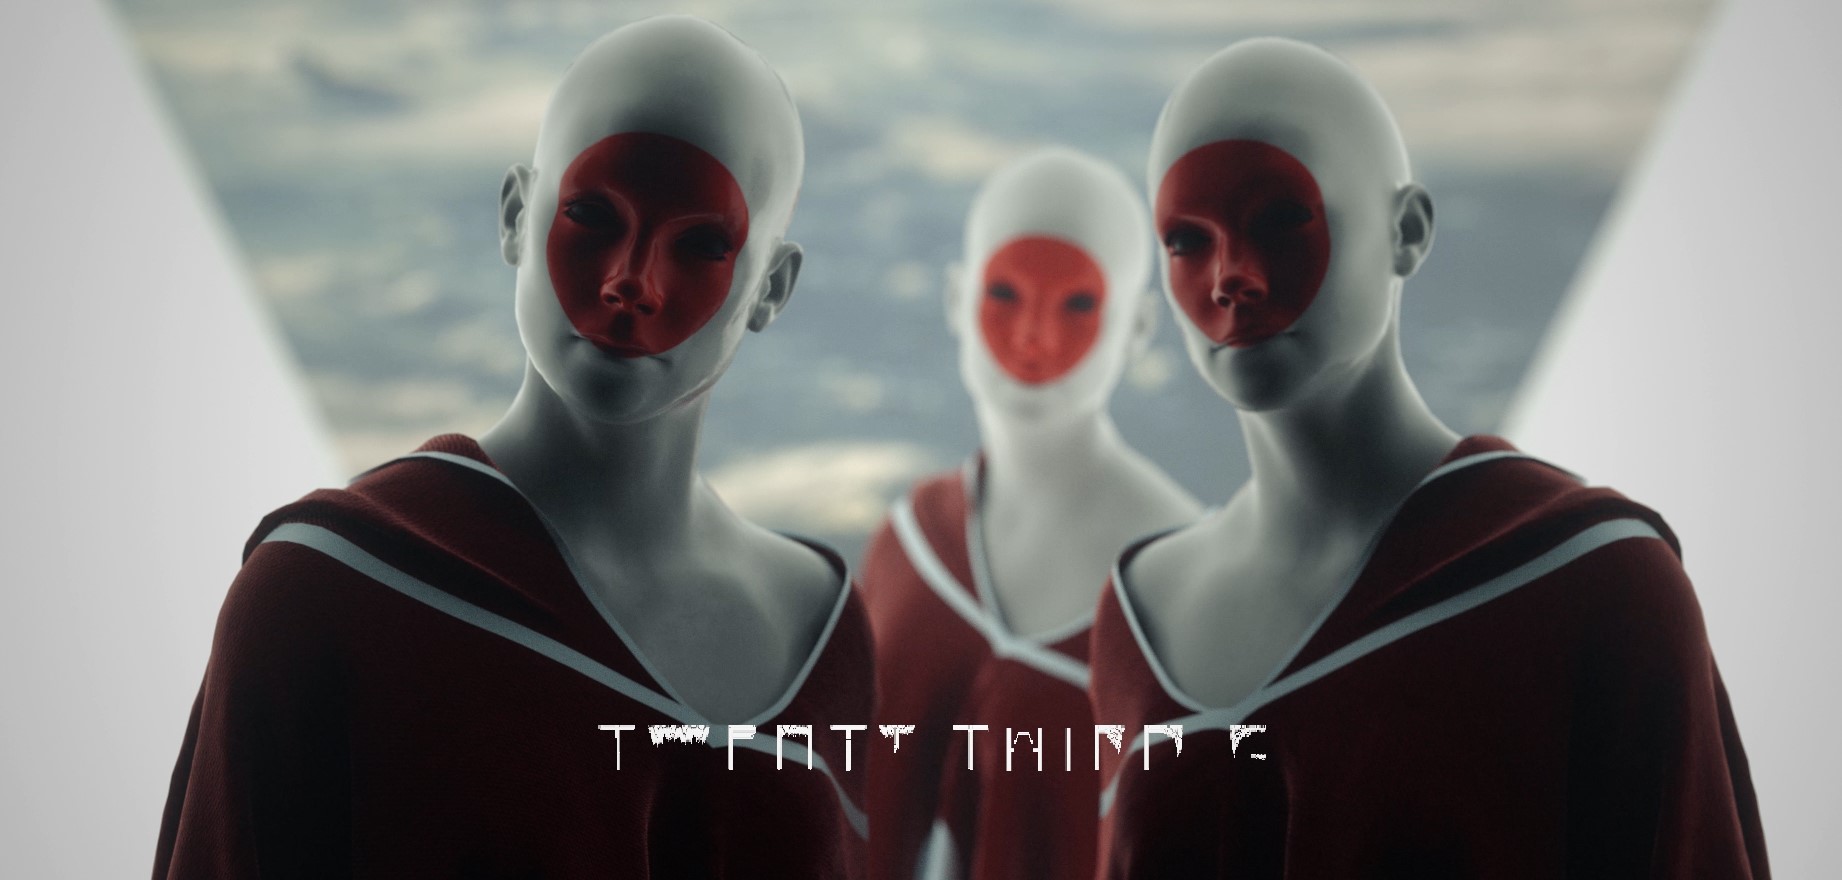


Huge thanks to stuz0r MHSPROD for developing such a stunning sequence, you definitely want to follow these designers!
Tutorials
166. Cinematic Title Design: Fantasy FX
Customize the Bevel and create endless variations
156. Classic Car 3D Text
Extruding Text & Adjusting Bevels
Blog Show
BLOG SHOW: Optical Flares & Bears Oh My!
In this new "Video Blog Show" we will be trying a new format and most importantly checking out the interface for OPTICAL FLARES for the first time!
Topics Covered:
New Blog Show Format
Fight Enhancement Tip in AE
Check out Upcoming Bar Graph Tutorial
5 Min Inside Look at the Optical Lens Flare Interface
This episode is a bit longer (18 min) but the time flies-by! We are shooting for 10 minute shows in the future! We also changed the resolution to 960x540 so you can see the tutorials and demonstrations much easier.
NOTE: Optical Flares is Mac & PC compatible.
Plugins
Stock Footage