
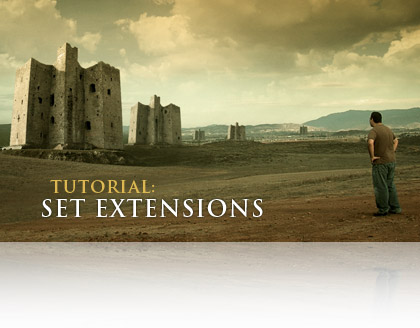
In this video tutorial you'll learn to incorporate matte paintings with your live action footage. You'll also learn a great technique for linking tracking data together. Plus a bunch of other cool stuff as well maybe some MS paint too!
Watch Tutorial
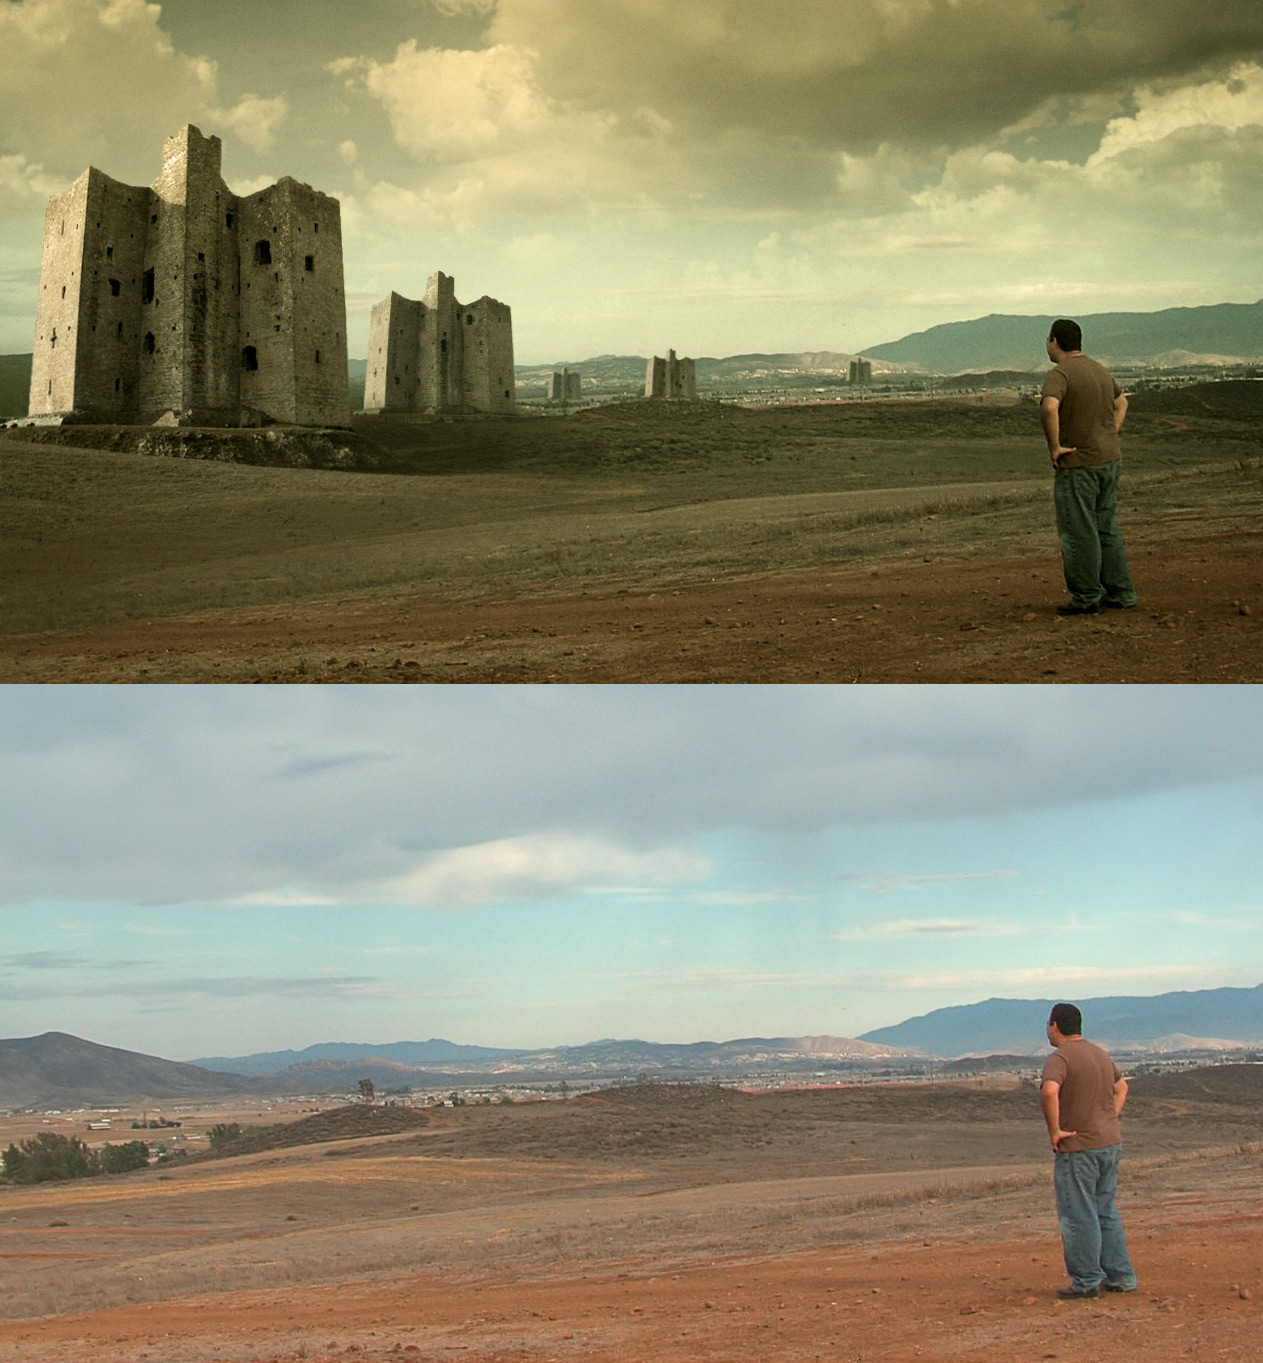
View Still Images
It's another long one; 30 MINUTES! ... and I love Canadians :)
UPDATE: Sean Emer, has created a great video demonstrating the Photoshop portion of the tutorial at normal speed :)
https://doodlesofamadman.com/PhotoshopSetExtensionforAK.html
UPDATE 2: I may also make an update and cover some 3D tracking techniques to incorporate 3D Sets as well. But don't expect that too soon :)
ADMIN NOTE: Please read blog rules before posting. Remember we're still on old servers so thanks for your understanding.


 ZGhrsrGEHI
 hope there will be more tutorial from you

 But when you did the tracking, is that 3D motion tracking?